How to Hook Up a Retro Console to a Modern TV
How do I connect an old console to my HDTV?
On this page
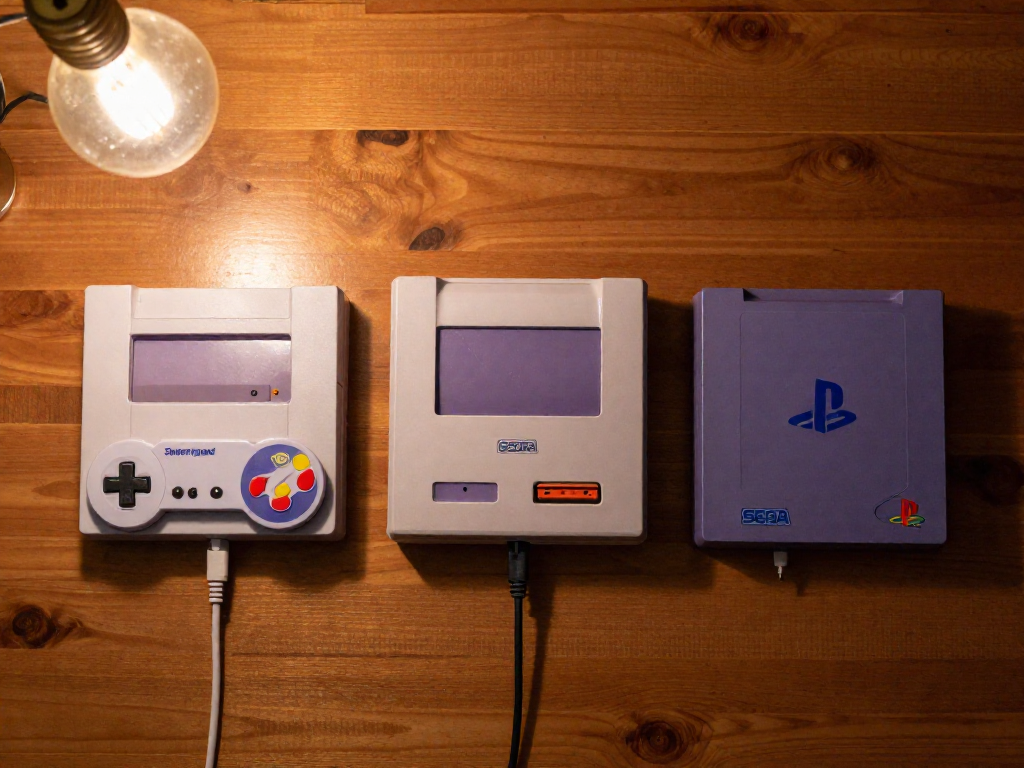
Why Your Old Console Won't Just Plug In
So you dug your old console out of the closet, dragged it over to the living room TV, and... nothing. A black screen, maybe a stubborn "No Signal" message. Take a breath: your console is almost certainly fine. What you're bumping into is a connection mismatch, and once you understand it, the fix gets a whole lot less scary.
Here's the short version. Consoles from the cartridge era spoke in analog — signals like RF (that screw-on coaxial connector), composite (the trusty yellow/red/white plugs), S-video, and component. Modern TVs, on the other hand, are built for digital HDMI and don't natively understand any of that older language.
A few things make it trickier:
- The jacks are gone. Lots of newer TVs dropped the yellow/red/white composite inputs entirely, so there's literally nowhere to plug in.
- Old resolutions confuse new screens. Retro systems often output a low-resolution 240p signal that modern TVs struggle to lock onto, which is why you get "no signal," a rolling picture, or noticeable lag.
- It's a translation problem, not a broken-console problem. The hardware inside is doing its job — the two devices just need a translator to talk.
That's the whole root issue: analog out, digital in, and no shared handshake. Knowing why it happens means you won't panic-buy the wrong adapter. Next, we'll match your specific console to the right connection.
Identify What Your Console Outputs
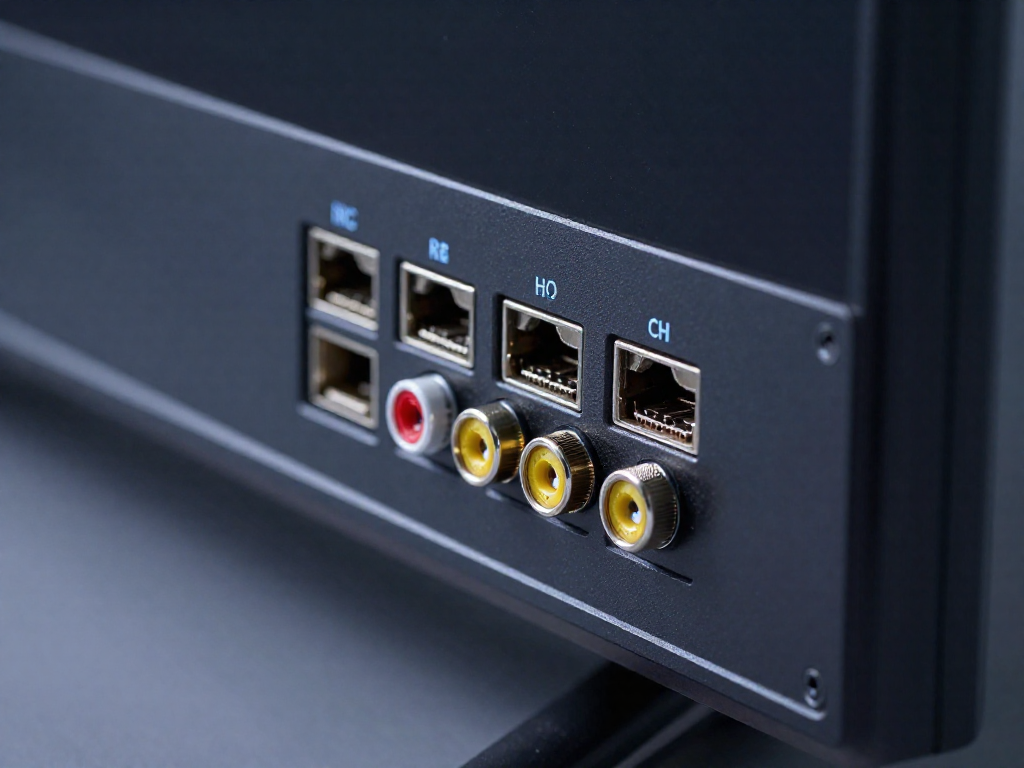
Before you buy a single adapter, flip your console around and look at the back. The plug it uses tells you everything about what comes next, and there are really only a handful to know.
- RF coaxial — A single screw-on connector, like the one an old TV antenna used. This is the calling card of the Atari 2600 and the original NES (1985). It works, but it's the fuzziest of the bunch.
- Composite (the yellow/red/white plugs) — The most common setup you'll meet. The SNES (1991), Sega Genesis (1989), Nintendo 64 (1996), PlayStation (1995), and PS2 (2000) all use it. Yellow carries video; red and white carry sound.
- S-video and component — A noticeable step up in sharpness. Many of those same consoles quietly support these better outputs if you pick up the right cable. The N64 and PS2 are good candidates worth upgrading.
- SCART — A big rectangular connector you'll rarely see on a US console, but it shows up on imported or modded systems. If you spot it, you've likely got something special.
Quick match-up:
| Console | Most common output |
|---|---|
| Atari 2600, original NES | RF coaxial |
| SNES, Genesis, N64, PS1, PS2 | Composite (yellow/red/white) |
| N64, PS2 (with right cable) | S-video / component |
| Imports & mods | SCART |
Once you know your plug, the rest of this guide will point you to the exact adapter you need — no guesswork, no overspending.
Check What Your Modern TV Accepts
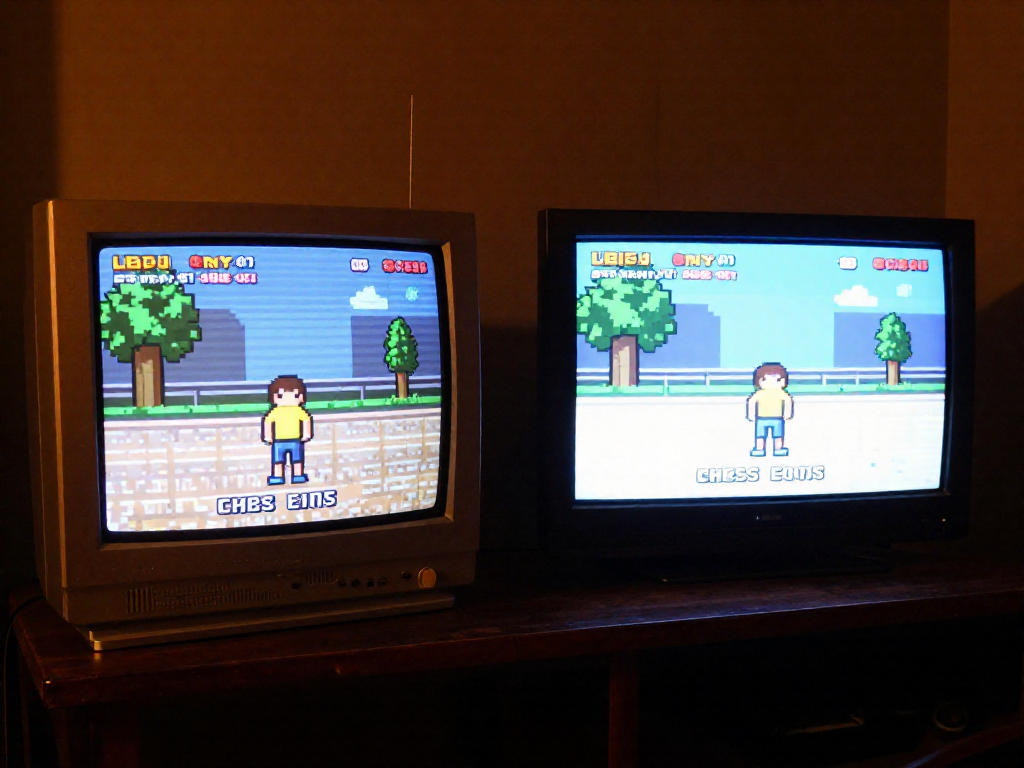
Now flip your attention to the TV. Knowing exactly what it accepts is half the battle—once you spot the gap between your console's output and the TV's inputs, the right adapter becomes obvious.
Here's what to look for:
- HDMI ports first. Every modern TV has them, usually labeled HDMI 1, HDMI 2, and so on. This is where most adapters and upscalers will end up plugging in.
- Hidden composite/component inputs. Many TVs from the last decade still accept the old red/white/yellow cables—but through a small breakout adapter (a dongle with color-coded mini-jacks) instead of full-size ports. Dig out the manual or search the model number to confirm before assuming it's gone.
- Decode the labels. "AV IN," "Video," or a shared port that doubles as component and composite can be genuinely confusing. The manual tells you which cable each one expects.
- Check the TV menu. Some sets hide legacy inputs until you enable them under Settings → Inputs (or rename a source). If a connected console shows nothing, look here before panicking.
Option 1: The Cheap Route — Direct Cables and Composite Adapters
If you just want to fire up some Sonic the Hedgehog on a Sunday afternoon without overthinking it, this is your lane. The cheap route gets your console talking to a modern TV for the price of a couple of fast-food combos.
Composite-to-HDMI converter boxes. Most consoles from the late '80s through the early 2000s output composite video — those familiar yellow, red, and white RCA plugs. A small converter box takes that signal and spits out HDMI your TV can read. These run roughly $15–$25 on Amazon, eBay, or in the cable bins at a thrift or pawn shop. Look for one with USB power included (you'll need a free USB port or a phone charger), and read recent reviews to dodge the truly flaky units.
RF demodulators for the oldest consoles. Got an original Atari 2600, NES, or anything that only connects through that screw-on antenna coaxial? You'll want an RF-to-composite demodulator (around $10–$20) to bridge it into the converter box above.
The honest trade-offs:
- Pros: Cheap, dead simple, no soldering or modding.
- Cons: The picture stays soft — composite was never sharp to begin with — and some converters add noticeable input lag, which can frustrate twitchy platformers.
Best for: Casual nostalgia sessions where reliving the memory matters more than razor-crisp pixels. If you later catch the bug for a pristine image, you can always upgrade.
Option 2: The Better Picture — Upscalers Explained
Here's the upgrade most folks have never heard of, and it's the single biggest jump in picture quality you can make. An upscaler is a little box that sits between your console and your TV. Old systems output a low-resolution signal (240p for things like the NES and Genesis, 480i for the PS2 and GameCube). Your modern 4K TV has no idea what to do with that, so it either refuses the signal or smears it into a blurry, laggy mess. An upscaler converts that old signal into a clean, modern resolution your HDTV actually understands — and it does it fast and sharp.
Why not just use a $15 converter box? Those cheap boxes technically work, but they add input lag (you'll feel it in Mario) and muddy the image. A real upscaler processes the signal cleanly, so your reflexes stay intact and pixel art looks crisp instead of soupy.
Match the upscaler to your output. This matters most:
- Composite (the yellow plug): the most basic signal — any upscaler handles it, but it'll never look amazing.
- Component (red/green/blue) or RGB/SCART: a much sharper source, and where good upscalers really shine.
What to actually buy (beginner-friendly tiers):
- RetroTINK 2X / 5X — the easy, plug-and-play starting point. Great picture, minimal fiddling. Expect roughly $100–$330 depending on model.
- OSSC — around $130–$160, fantastic for RGB sources, but more menus and tweaking.
- RetroTINK 4K — the premium, do-everything option (about $750), overkill for most beginners.
Beginner tip: start with a RetroTINK 2X or 5X. It covers the vast majority of consoles, requires almost no setup, and gives you that "oh wow" moment the first time your childhood game looks the way you remember it.
Option 3: The Modern Shortcut — HDMI Mods and Clone Consoles
If fiddling with cables and upscalers sounds like a headache, there's a more plug-and-play path. Just know each option trades something away.
Internal HDMI mods. Kits like the NESRGB or dedicated N64 HDMI boards solder into your original console and pipe out a crisp digital signal. The payoff is gorgeous picture from real hardware. The catch: installation usually means a soldering iron or paying a modder (often $80–$200 installed). Worth it if you love a specific console and want to keep playing your actual cartridges.
Clone and retro consoles. Companies like Analogue and Retro-Bit build modern machines with native HDMI that accept your original carts. Analogue's FPGA systems (think Nt, Super Nt, Mega Sg) run roughly $190–$250 and look stunning; Retro-Bit and similar clones are friendlier on the wallet at $40–$80.
Mini/Classic editions. The NES Classic (2016) and SNES Classic (2017) plug straight into HDMI with games built in — zero cables, zero fuss. The trade-off is you're stuck with the preloaded library and can't use real cartridges.
Pick based on what matters most: budget, authenticity, or sheer convenience.
Troubleshooting Common Problems
So you've got everything plugged in and the screen is... not cooperating. Don't unplug in frustration just yet — almost every hiccup here has a five-minute fix.
-
"No signal" on screen. Nine times out of ten, your TV is just looking at the wrong door. Cycle through the Input/Source button until you land on the jack you actually used (HDMI 2, AV1, etc.). If you're going through an upscaler, make sure it's powered on too — many won't pass an image without their own power.
-
Black-and-white or a rolling, scrolling picture. This is the classic NTSC/PAL mismatch. US consoles output NTSC; if your TV or upscaler is set to PAL (or auto-guessing wrong), color drops out and the image rolls. Force the region setting to NTSC. On older RF hookups, double-check you're tuned to channel 3 or 4.
-
Sound but no picture (or picture but no sound). A loose or swapped cable, plain and simple. Reseat the red, white, and yellow plugs — yellow is video, red and white are audio. Wiggle them; corroded retro connectors love to half-connect.
-
Sluggish, laggy controls. Turn on your TV's Game Mode to cut processing delay, or run the signal through a low-lag upscaler. Your reflexes are fine — the TV was the problem.
Which Setup Is Right for You?
Still not sure which path to take? Here's the cheat sheet, sorted by what you actually want out of the experience.
- Casual nostalgia on a budget ($10–25): Grab a composite-to-HDMI conversion box. The picture won't win awards, but you'll be playing within minutes, and that's what counts on a Saturday afternoon.
- You want a clean, sharp picture ($60–120): Step up to a budget upscaler. It sharpens the image and tames the lag without you needing a soldering iron or a degree in electronics.
- Best possible image / collector setup ($150+): Go for a premium upscaler or an internal HDMI mod. This is the route if you're preserving a prized console and want it looking its absolute best on a big screen.
- No-hassle plug-and-play ($40–100): A clone or official mini console skips the wiring entirely. You lose a little authenticity, but you gain instant, headache-free fun.
My honest pick for most folks? Start with a budget upscaler. It's the sweet spot between price and picture — and you can always upgrade later.
FAQ
Can I plug an old console straight into HDMI?
Usually not directly. Most consoles before the mid-2000s (think NES, SNES, Genesis, PlayStation, N64) output analog signals over composite, S-video, RF, or component cables, which modern HDMI-only TVs can't read. You'll need an adapter or converter that turns that analog signal into HDMI. A handful of later systems like the PlayStation 2 (with adapters) or original Xbox can get closer, but as a rule, anything cartridge-era needs a middleman. The good news: that middleman can cost as little as $10–$20.
What's the cheapest way to connect a retro console to an HDTV?
The budget route is a basic composite-to-HDMI converter box, which runs about $10–$20 on Amazon or eBay. You plug your console's yellow/red/white RCA cables into the box, run an HDMI cable to your TV, and power the box with a USB cable. It won't make the picture beautiful, but it'll get a clean, watchable image on a modern set. If your TV still has the old yellow/red/white composite inputs (some budget and mid-range models do), you can skip the converter entirely and plug straight in for free. Always check the back and side of your TV first before buying anything.
Do I really need an upscaler?
Only if picture quality matters a lot to you. A cheap converter just passes the low-resolution signal through, so games can look soft. A dedicated upscaler (like a RetroTINK or the higher-end OSSC) cleans up and sharpens the image, reduces lag, and handles tricky signals far better — but those start around $100 and climb past $300. For casual nostalgia sessions, a $15 converter is plenty. If you're setting up a permanent retro corner or playing fast-paced games competitively, the upscaler upgrade is worth saving up for. Start cheap, and upgrade only if the picture bugs you.
Why does my old console look blurry on a new TV?
A couple of reasons. First, old consoles output very low resolutions (240p or 480i) that modern 4K TVs have to stretch to fill the screen, which softens everything. Second, those games were designed for the soft glow of CRT tube TVs — the slight blur actually blended pixels in a flattering way. On a sharp flat panel, you're seeing the raw, low-res signal magnified. Turning on your TV's 'Game Mode,' choosing a smaller picture/aspect setting, or adding an upscaler can all help. Some fans even buy an old CRT for the authentic look, and you can often grab one free or cheap from local listings.
How do I fix input lag with a retro console on a modern TV?
Start with the free fix: turn on your TV's 'Game Mode' (usually in the picture settings). It disables the post-processing that delays the image, and it often makes a big difference on its own. Next, plug your console in directly rather than routing through a soundbar or AV receiver, which can add delay. If lag still ruins fast games like Mario or Street Fighter, the culprit is often a cheap converter — stepping up to a low-lag upscaler like a RetroTINK helps a lot. For the lag-free purist experience, an original CRT TV has essentially zero delay.
Will composite-to-HDMI converters cause lag?
Often, yes — a little. Budget converters have to process the analog signal before sending it out as HDMI, and that takes a few milliseconds. For watching cutscenes or playing slower games, you'll likely never notice. For twitchy action and rhythm games, it can feel noticeable. If lag is a problem, first enable Game Mode on your TV, then consider a dedicated low-lag upscaler designed to minimize delay. And if you want truly zero lag, hooking the console to an old CRT TV sidesteps the converter entirely.
See also
- Best retro consoles to start collecting on a budget
- NES vs. SNES: which classic should you buy first?
- How to clean and restore a dusty retro console
- A beginner's guide to retro game cartridges and cleaning them
- Are mini/classic consoles worth it for collectors?
Related articles
Quick Reference: Retro Console Release Years and Lifespans
When did the major retro consoles launch and end? A scannable timeline of release years, lifespans, and console eras for collectors.
Jun 27, 2026 · 5 min read
The Atari 2600 at Home: A Beginner's Restoration Primer
Found a dusty Atari 2600? Learn gentle, beginner-friendly cleaning and basic fixes to revive your first vintage console—no soldering or big budget required.
Jun 27, 2026 · 12 min read
The Quietly Brilliant Tech of the Sony Trinitron, Explained
Why do retro gamers prize CRT TVs like the Sony Trinitron? Here's the clever tech inside, why it beats flat screens for retro play, and what to look for.
Jun 27, 2026 · 10 min read