The Atari 2600 at Home: A Beginner's Restoration Primer
How do I clean up and revive an old Atari 2600?
On this page
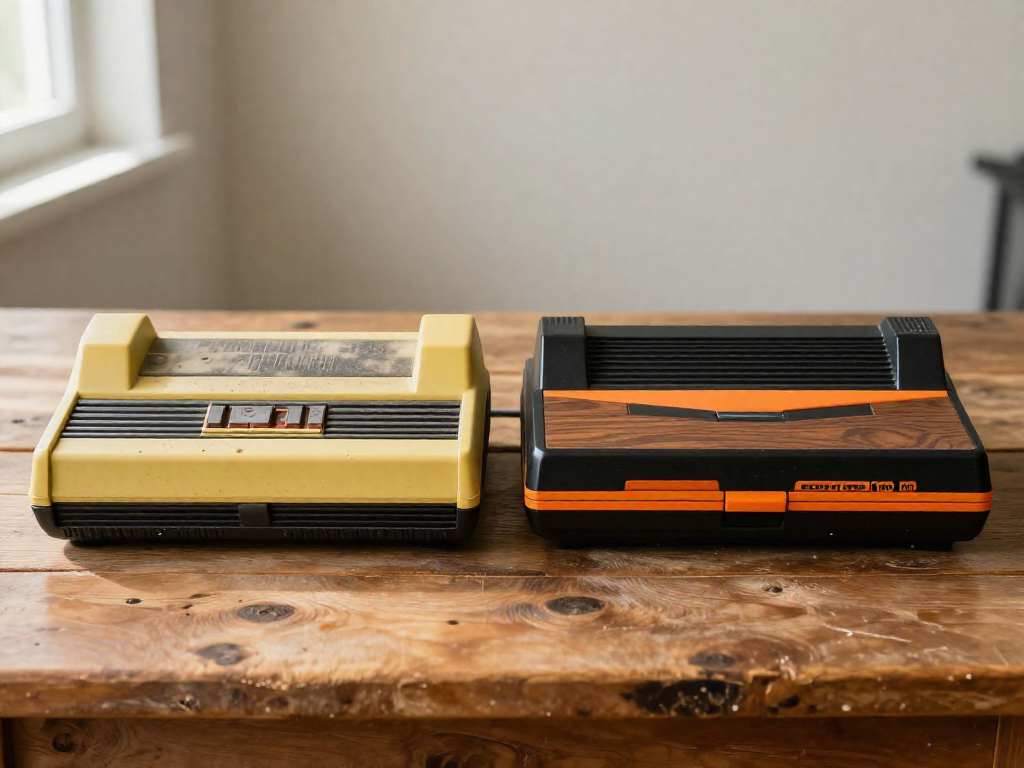
Why the Atari 2600 Is the Perfect First Restoration
If you've ever wanted to bring a piece of gaming history back to life, the Atari 2600 is the friendliest place to start. Released in 1977, it was built in an era when "rugged" meant something—thick plastic, big chunky parts, and a circuit board that practically invites you to poke around without fear. There's very little inside that you can break with a careful hand.
Here's why it's such a great beginner project:
- It's cheap and everywhere. Untested units regularly turn up at thrift stores, flea markets, and yard sales for $15–$40, and online listings give you a steady supply of donor consoles for spare parts.
- The hardware is simple and forgiving. Few delicate components means fewer ways to go wrong.
- No soldering needed. Most common fixes—dirty contacts, sticky switches, a fussy cartridge slot—come down to cleaning, not electronics work.
- You get a fast nostalgia payoff. Plenty of "dead" units just need a thorough cleaning before they're ready for a round of Combat again.
That combination of low cost, simple guts, and quick wins makes the 2600 the ideal way to build confidence before tackling anything fancier.
Before You Start: Safety, Tools, and What You'll Need
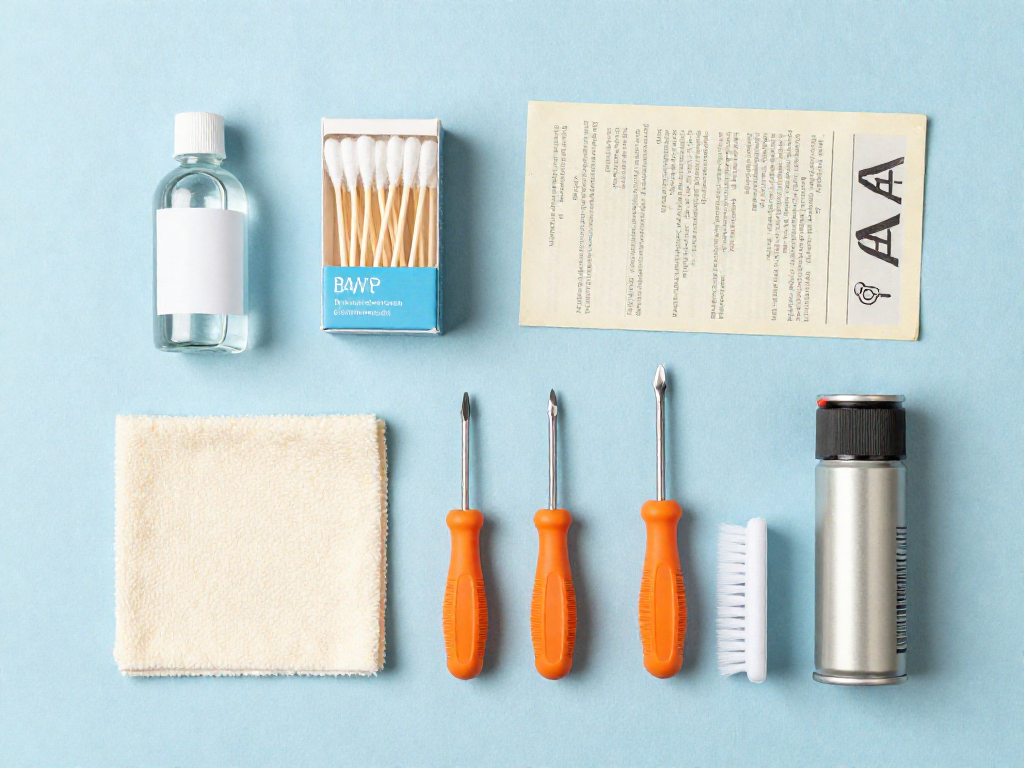
Good news: reviving a dusty Atari 2600 doesn't take a workshop or a big budget. Most of what you need is already under your sink or a few dollars away at the drugstore.
First, the one non-negotiable rule: never open the power supply. That little black brick can hold a charge, and there's nothing inside worth fixing. Unplug the whole console before you touch anything, and leave the adapter sealed.
Here's your starter kit, almost all of it under $20 total:
- 90%+ isopropyl alcohol — the workhorse for cleaning contacts and grime (the higher the percentage, the faster it evaporates and the less residue it leaves)
- Cotton swabs, a soft brush, and a microfiber cloth — for getting into cartridge slots and wiping down the faux-woodgrain
- A Phillips screwdriver set — the 2600's case opens with standard screws, no special bits required
- Contact cleaner and a can of compressed air — for blasting decades of dust out of the cartridge port and switches
Optional extras if you catch the bug: a Magic Eraser for stubborn scuffs, and retrobright supplies (hydrogen peroxide plus UV light) if your console has yellowed.
Finally, set up a clean, well-lit table and grab a small zip-top bag for your screws. Losing one tiny screw mid-project is the fastest way to stall out—future you will be grateful.
Step 1: Exterior Cleaning and Tackling Yellowed Plastic
There's no better confidence boost than seeing decades of grime lift off that iconic black-and-woodgrain shell. Start here—it's the most satisfying win, and you can do it with stuff already under your sink.
Begin with a dry microfiber cloth to knock off loose dust, then dampen it (not soaking) with a little warm water and a drop of dish soap. Wipe the shell and the faux woodgrain panel gently, going with the grain. Skip harsh cleaners and abrasive pads here—the woodgrain is a printed laminate, and scrubbing too hard can dull or peel it.
For the switches and tight crevices around the cartridge slot, reach for cotton swabs dipped in your mild solution, or a slightly stronger move: isopropyl alcohol (70% or higher) on a swab for sticky residue. Work the difficulty and channel switches back and forth as you clean to clear out crud.
Now, that dingy yellow tint. Older ABS plastic yellows over time thanks to bromine flame retardants reacting with UV light—it's chemistry, not dirt. The hobbyist fix is retrobright: applying hydrogen peroxide and sunlight (or a UV lamp) to reverse the discoloration. It genuinely works, but it's a bigger project, so treat it as an optional later step rather than a first-day must.
One honest note: cleaning makes your 2600 look great, but it won't fix a console that doesn't power on or display video. Cosmetic and functional restoration are two separate jobs—and we'll tackle the working parts next.
Step 2: Cleaning the Cartridge Slot and Contacts
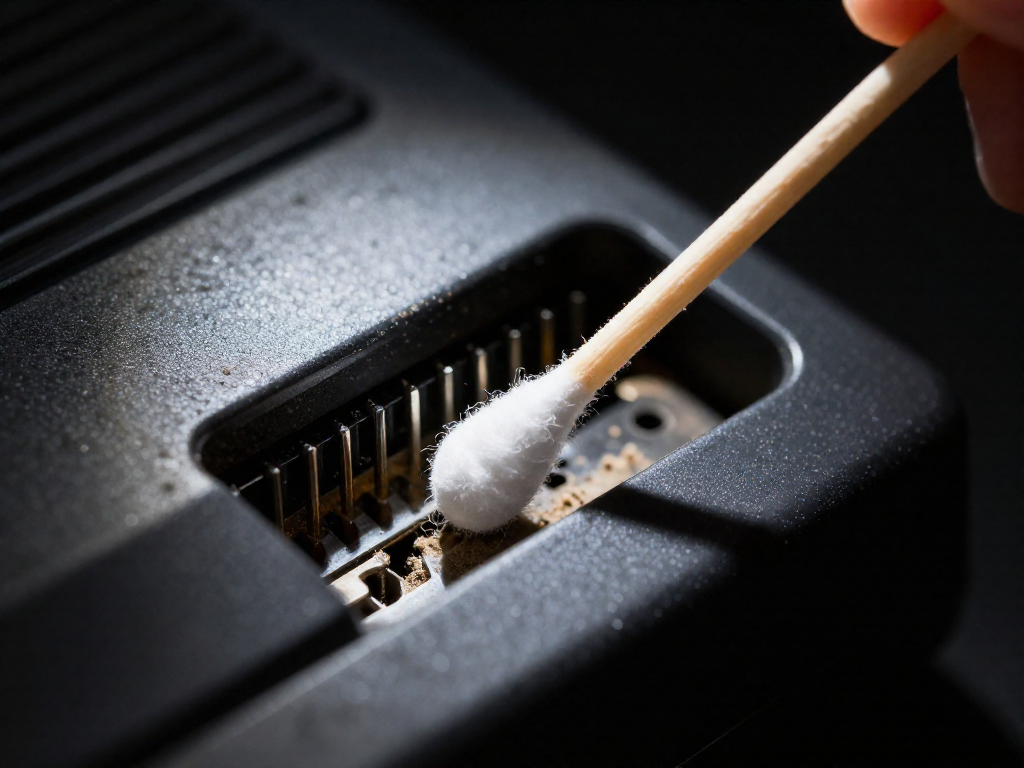
If your Atari boots to a flickering screen, wrong colors, or that dreaded black nothing, don't panic—nine times out of ten the console is fine. The culprit is decades of oxidation and grime on the metal contacts inside the cartridge slot and on the cartridge's edge connector. Those contacts have to make clean electrical contact to pass the game data through. A thin film of dust or corrosion is enough to scramble the signal, which is exactly why a game might work one day and glitch the next.
Here's the safe way to clean it:
- Grab the right supplies. You want 90%+ isopropyl alcohol (the higher the percentage, the less water residue) and cotton swabs or lint-free foam swabs. A bottle runs about $3–6 at any drugstore. Never use sandpaper, erasers, or metal picks—abrasives scratch the gold plating and cause permanent damage.
- Clean the slot. With the console unplugged, dip a swab in isopropyl, gently work it across the contacts inside the cartridge slot, and let it air-dry fully before powering back on.
- Don't forget the cartridges. The slot is only half the connection. Lightly run an alcohol-dampened swab along the copper edge connector on the bottom of each cartridge. You'll often see brown or gray gunk transfer onto the swab—that's your problem, leaving.
And about that childhood ritual of blowing into the cartridge: please stop. It felt like magic, but the moisture in your breath actually accelerates corrosion on those contacts. It "worked" only because reinserting the cart wiped the connection. A 30-second swab does the same job without the long-term damage.
Step 3: Reviving Controllers and Joysticks
Here's the part your hands remember best: that chunky black joystick with the single red fire button. After decades of marathon Pitfall! sessions, it's also the part most likely to act up. The good news? Reviving one is cheap, satisfying, and totally beginner-friendly.
Start by spotting the usual suspects. Dead directions (you push up, Pitfall Harry won't jump) and a stuck or unresponsive fire button are the classic complaints. Both almost always come down to grime and worn contacts inside—not anything you need to solder.
To open it up, flip the joystick over and remove the four small Phillips screws on the base. Lift the top half away gently; the internals are simple, so take a quick phone photo before anything shifts. Inside you'll find a flexible contact membrane sitting over the circuit board. Wipe the contact pads and board traces with a cotton swab dipped in isopropyl alcohol (90% or higher). Let everything dry fully.
If a direction or the fire button still won't register, the membrane itself has worn out. This is the magic fix: replacement membranes run roughly $5–$10 on eBay or hobbyist sites, and swapping one in takes minutes—it just lays back in place.
Before you screw it all back together, do a dry test. Press each direction and the button, watching that the membrane makes solid contact every time. Once it feels crisp again, reassemble, plug in, and take Harry for a victory lap.
Step 4: Hooking It Up to a Modern TV
Here's where a lot of revivals stall out: you flip on your shiny flat-screen, reach for the antenna jack... and there isn't one. Most HDTVs ditched the old RF input that the 2600 was built to use, so that little RF switch box dangling off the back of your console suddenly has nowhere to go. Don't worry—this is a solved problem, and a cheap one.
You've got two easy paths:
- Use a TV with a coax (cable) input. Many modern sets still have a threaded coaxial jack for cable. Grab an inexpensive RF-to-coax adapter (often called an F-type adapter, usually $5–10) so the Atari's RF switch screws right on.
- No coax at all? Go coax-to-HDMI. A small RF/coax-to-HDMI converter box runs roughly $25–40 and turns that old signal into something any HDMI TV will accept.
Once you're connected, set the channel selector switch on the console to 3 or 4, then tune your TV (or converter) to match that same channel. On older sets, this is literally just turning the dial to 3 or 4.
Still nothing? Run through the quick checks:
- No picture or sound: confirm the RF switch is set to Game, not TV, and that the channel switch matches your TV.
- Fuzzy or rolling picture: try the other channel (3 vs. 4) to dodge local interference.
- Sound but no picture: reseat every connection and double-check the converter's power.
Nine times out of ten, it's just a mismatched channel. Get the picture, and you're seconds away from Combat.
Common Problems and Quick Fixes
Even a healthy old Atari throws a tantrum now and then. Before you panic (or pull out a soldering iron), run through these common hiccups. Most are fixable in minutes with nothing but patience and a cotton swab.
No power at all. Start with the basics: confirm your power supply actually outputs 9V and that the barrel plug is seated firmly. Wiggle the power switch on and off a dozen times—decades of grime love to hide in that contact. Try a known-good supply if you have one, since aftermarket replacements are cheap (often $10–$15) and rule out a dead brick instantly. No soldering required for any of this.
Wavy, snowy, or no picture. This is almost always the RF connection. Make sure the channel switch (2/3) matches your TV's input, reseat the RF cable, and clean the metal connector with a swab and a little isopropyl alcohol. If you're using an RF-to-coax adapter for a modern set, double-check it's snug—loose adapters cause most "ghostly" pictures.
Garbled or scrambled graphics. Nine times out of ten, this is the cartridge, not the console. Power off, pull the cart, clean the gold contacts with alcohol, let it dry fully, and reseat it firmly. Try a second game to confirm.
Know when to stop. If you've checked power, RF, and carts and still get nothing—or you smell burning or see leaking capacitors—that's beyond beginner territory. Set it aside and find a local retro-repair tech. There's zero shame in tagging in help.
Keeping It Alive: Storage and Display Tips
You did the hard part—now let's keep your 2600 looking sharp for years. The good news? Maintenance is easy and cheap.
- Store carts upright, like books. A shoebox or small bin works fine, just keep them dust-free with a lid. Standing them up makes the labels easy to browse, too.
- Keep heat and sunlight away. That yellowing you fought off can creep back if the console bakes in a sunny window. A shaded shelf or cabinet is perfect.
- Light cleaning now and then. A quick wipe of the cartridge contacts with 91% isopropyl alcohol every few months keeps connections happy and prevents the dreaded blank screen.
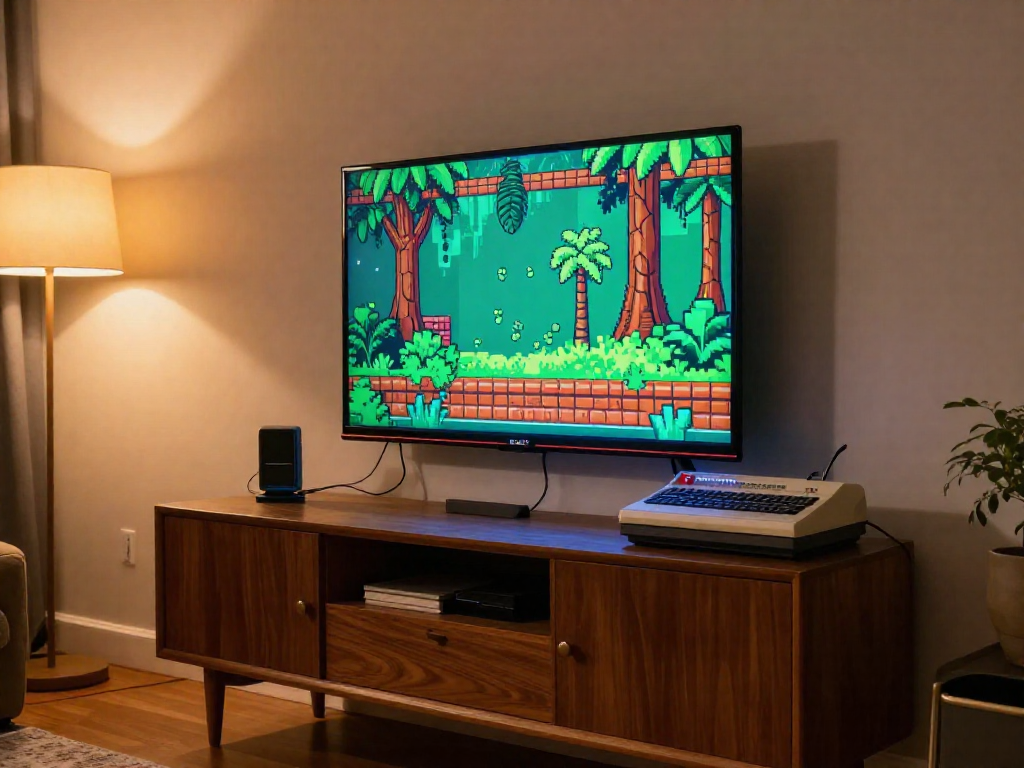
For the fun part: build a little nostalgia corner. Prop the woodgrain console (released in 1977) on a low shelf, line up a few cartridges spine-out, and lean a joystick beside it. It's part time machine, part décor—and a guaranteed conversation starter.
FAQ
Is it safe to clean an Atari 2600 with isopropyl alcohol?
Yes, with the right kind. Use 90%+ isopropyl alcohol (the higher the percentage, the less water, which means faster drying and no residue). Apply it to a cotton swab or microfiber cloth rather than pouring it directly onto the console, and gently clean cartridge contacts, controller ports, and switch areas. Avoid the woodgrain veneer and any printed labels, since alcohol can dull or lift them. Always let everything dry fully before powering on. Steer clear of the lower-percentage 'rubbing alcohol' from the drugstore for electronics work, as the extra water and additives aren't ideal.
Why won't my Atari 2600 work on a modern TV?
Your Atari outputs an old analog RF signal meant for the coaxial antenna jack on tube TVs, and most modern flat-screens either lack that input or struggle to tune the signal cleanly. The simplest fix is an RF-to-HDMI or RF-to-composite converter box, which you can find for roughly $20-40. Many collectors prefer a small composite-video modification to the console for a sharper picture, but that requires basic soldering. If your TV still has an old coaxial 'ANT IN' jack, try manually tuning to channel 3 or 4 first before buying anything, since it may just work.
How do I fix flickering or no-boot Atari cartridges?
Ninety percent of the time it's dirty contacts, not a dead game. Pull the cartridge, look at the gold edge connector, and gently clean it with a cotton swab dampened in 90%+ isopropyl alcohol, wiping until no gray residue transfers. Let it dry completely, then reseat it firmly. If a game still flickers or won't boot, the console's internal cartridge slot may be dirty too, so clean those contacts the same way. Persistent problems can point to oxidized slot pins that need careful reseating, but a thorough contact cleaning solves the vast majority of cases for free.
Does retrobright really fix yellowed Atari plastic?
It genuinely works, but it's a cosmetic fix, not magic. Yellowing comes from bromine in the old plastic reacting with UV light over the decades. Retrobrighting uses hydrogen peroxide plus UV exposure (sunlight or a UV lamp) to reverse that discoloration and restore the original color. The catches: results can be uneven if you're not careful, the yellowing can slowly return over years, and it works on plastic, not on the woodgrain front panel. For a first attempt, start with a spare controller or a junk shell before treating a piece you care about, and keep expectations to 'noticeably better,' not 'factory new.'
Where can I buy replacement Atari 2600 parts cheaply?
You have more affordable options than you'd think. eBay is the biggest source, where dead 'for parts' consoles and loose controllers often sell for $10-25 and become donor units. Local thrift stores, flea markets, estate sales, and Facebook Marketplace are great for cheap project consoles, sometimes under $20. For specific bits like RF cables, power adapters, and joysticks, search dedicated retro-gaming parts shops online. Buying one untested 'junk' console to harvest switches, controllers, and shells is usually the best value for a beginner restoring another unit.
Should I really stop blowing on old cartridges?
Yes, even though it feels like sacrilege. We all did it as kids, and it often seemed to work, but that was usually just reseating the cartridge, not the breath. Blowing coats the gold contacts in moisture from your breath, and that humidity actually accelerates corrosion over time, which is the opposite of what you want for a game you're trying to preserve. The proper move is a cotton swab with 90%+ isopropyl alcohol on the contacts, then a firm reseat. Blow once for nostalgia if you must, but clean it the right way for the long haul.
See also
- A beginner's guide to starting a retro game collection
- Retrobright explained: how to whiten yellowed vintage plastic
- Best affordable RF-to-HDMI adapters for vintage consoles
- Retro console buying guide: what to look for at thrift stores
Related articles
Quick Reference: Retro Console Release Years and Lifespans
When did the major retro consoles launch and end? A scannable timeline of release years, lifespans, and console eras for collectors.
Jun 27, 2026 · 5 min read
The Quietly Brilliant Tech of the Sony Trinitron, Explained
Why do retro gamers prize CRT TVs like the Sony Trinitron? Here's the clever tech inside, why it beats flat screens for retro play, and what to look for.
Jun 27, 2026 · 10 min read
A Field Guide to Spotting Fake Retro Games and Cartridges
Worried a retro game is a fake? Use this field guide to spot counterfeit cartridges, boxes, and labels with simple visual and physical tells anyone can check.
Jun 27, 2026 · 7 min read