A Field Guide to Spotting Fake Retro Games and Cartridges
How can I tell if a retro game is a fake?
On this page
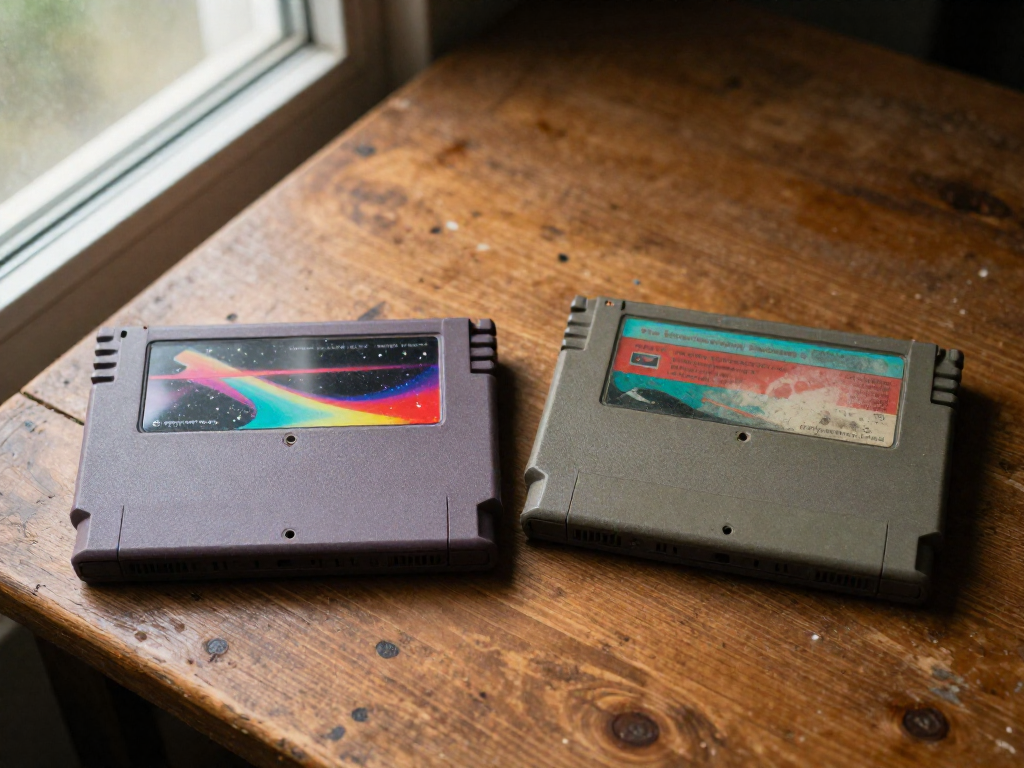
Why Fake Retro Games Are Everywhere Now
Remember when you could grab a dusty cartridge from a thrift store bin for a couple of bucks? Those days are fading fast. As prices for retro games have climbed — some sought-after carts now command hundreds, even thousands — counterfeiters have flooded the market to cash in on the nostalgia boom.
Here's the catch: most fakes don't show up in trusted shops. They circulate through online marketplaces like eBay and Facebook groups, plus flea markets and swap meets where there's no return policy and no questions asked. That's exactly where beginners tend to start hunting, which makes knowing the warning signs so valuable.
You'll mostly run into two flavors of fake:
- Clones and repros — newly manufactured copies, including reproduction multicarts that pack dozens of games onto one board.
- "Frankencarts" — real shells with swapped labels, reprinted artwork, or replaced internal boards stitched together to look legit.
And don't assume cheap commons are safe. Thanks to easy label printing and bulk repro boards, even modest titles get faked. The good news? Once you know what to look for, spotting them gets a lot easier — and that's exactly what we'll cover next.
The 60-Second Field Check (Quick Reference)
Standing in a flea market with a cart in your hand? You don't need to be an expert to catch most fakes. Run through these five checks before you hand over any cash. Each one takes seconds, and together they catch the overwhelming majority of reproductions floating around today.
1. Weight and feel. Pick it up. Authentic cartridges have a reassuring heft — the plastic is denser and the board inside adds real weight. Many fakes feel suspiciously light, hollow, or rattly. If it feels like an empty toy, be skeptical. (Hold a game you know is real in your other hand to compare; your fingers will notice the difference instantly.)
2. Label quality. This is the easiest tell. Real labels have crisp fonts, accurate colors, and clean alignment. Fakes often show blurry or pixelated text, slightly-off color tones, fonts that don't match the era, or a label that sits crooked or oversized in its recess. Tilt it under light — genuine labels have a consistent print finish, not a faded inkjet look.
3. Shell texture and seams. Run your thumb along the plastic. Original shells have smooth, uniform texture and tight mold seams. Watch for mismatched plastic colors between the front and back halves, excessive gloss, rough mold lines, or flashing (little bits of leftover plastic) along the edges. Color that's "almost" the right gray is a classic reproduction giveaway.
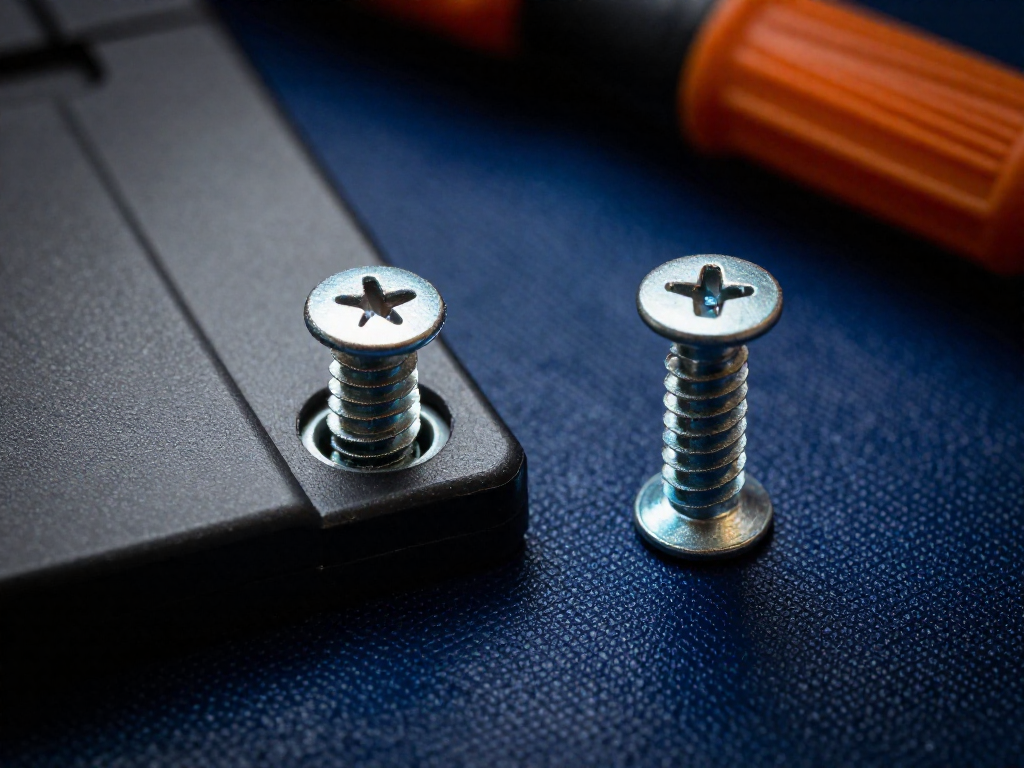
4. Screws. Flip the cart over. Original Nintendo and Sega carts use proprietary security screws — the 3.8mm or 4.5mm "gamebit" style, not a standard Phillips. If you see ordinary Phillips-head screws, someone has either opened it or built it from scratch. That's a yellow flag worth a closer look at everything else.
5. The price red flag. Trust your gut on pricing. If a genuinely rare title is sitting in a bin for a fraction of its going rate, ask why. Before you buy anything you're unsure about, pull up recent sold listings on eBay (filter to "Sold items") for a realistic market range. Bargains are real and part of the fun — but a deal that seems too good to be true usually is.
Hit four or five of these confidently? You're probably holding the real thing. Two or three red flags? Walk away — there's always another cart at the next table.
Cartridge Tells: What the Shell and Board Reveal
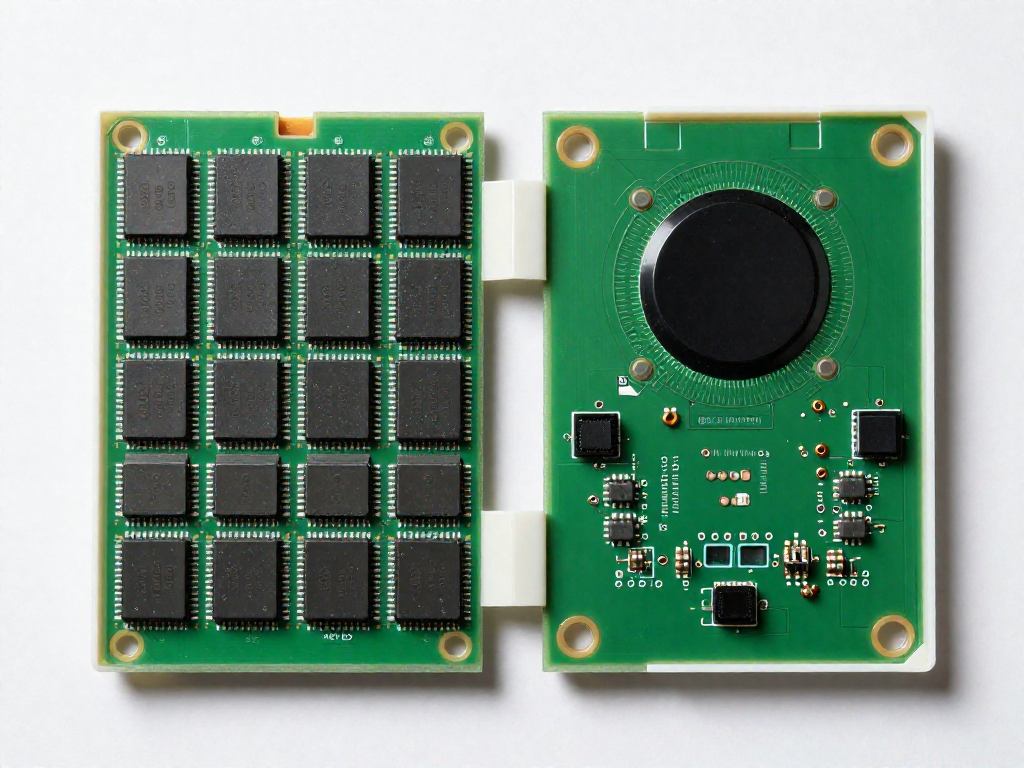
If the 60-second check left you unsure, it's time to look closer — and maybe pop the cart open. Don't worry, this isn't surgery. Most carts use a security screwdriver bit (a 3.8mm or 4.5mm "gamebit" runs about $6–$10 online), and Game Boy carts often use a tiny tri-wing bit. Once you're inside, the board tells the real story.
Read the PCB like a detective. Genuine cartridges use proper printed circuit boards with named chips — you'll see crisp manufacturer markings (Nintendo, Sega, or licensed houses like Konami) and tidy, factory-even solder joints. Bootlegs tend to look rushed: sloppy solder blobs, hand-scratched labels, or mismatched components.
Watch for the "blob." A black epoxy lump glued over a chip — collectors call it a glob-top or "blob" chip — is one of the loudest red flags. Real retro games almost never used these; bootleggers do, because it hides a cheap generic chip. Odd board layouts, extra jumper wires, or empty solder pads point the same direction.
Check molded stamps. Flip the plastic shell and look for date codes and region/manufacturer marks molded right into the plastic (not printed on a sticker). A 1991-stamped shell on a game that "released in 1988" is a mismatch worth questioning.
Test the battery save. Games like The Legend of Zelda or Pokémon Red/Blue used battery-backed saves. Fakes sometimes fake the save screen but lose your progress on power-off, or use a non-standard battery type. Save, power down, wait a minute, and reload to confirm.
System quirks: NES boards vary widely but should still look factory-clean; SNES carts have distinctive board shapes; Game Boy Pokémon reproductions are extremely common, so scrutinize those hardest; Genesis bootlegs often skip proper region/branding stamps. When several small tells stack up, trust the pattern.
Label and Box Tells: Spotting Print Fakes
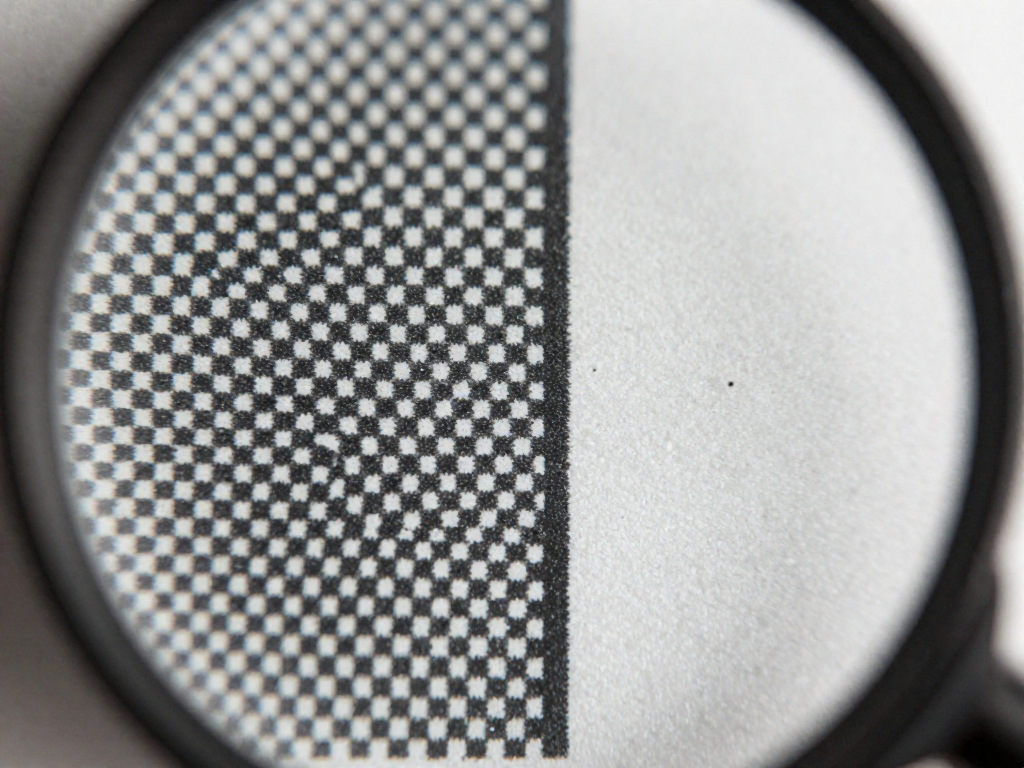
Here's the good news: most fakes fall apart the moment you look closely at the printing. Original labels and boxes were mass-produced on real industrial presses, and counterfeiters usually can't match that. Grab a phone flashlight and, if you have one, a cheap jeweler's loupe (10x loupes run about $8–12 online) and check these tells.
Resolution and dot patterns. Genuine labels have crisp, clean edges. A scan-and-print fake reveals fuzzy lines, slightly washed-out color, or a faint grid of dots when you zoom in or look through a loupe. If the artwork looks like a photocopy of a photocopy, trust that instinct.
Fonts, logos, and the seal of quality. Counterfeiters often get the font weight or spacing subtly wrong, and they frequently misplace or distort the manufacturer's seal of quality. Pull up a photo of a known-authentic copy on your phone and compare letter shapes, logo size, and seal position side by side.
Finish and feel. Real labels have a consistent gloss or matte finish and lie flat. Fakes often feel too thin, curl at the corners, or have an off finish (a matte label that should be glossy, or vice versa).
Box details. Authentic boxes use heavier cardboard with rich, saturated color. Watch for flimsy stock, dull or oversaturated printing, a barcode that looks pasted on, and spine text that's misaligned or the wrong size.
Manuals and inserts. These are great supporting clues. Original manuals used specific paper stock with sharp print. Bright-white modern paper, blurry text, or staples that look brand new on a 30-year-old game are red flags.
No single tell is proof on its own, but two or three together usually settle it.
Verify Before You Buy: Easy Cross-Checks
You've eyeballed the shell and the label—now let's confirm it for free before any money changes hands. These cross-checks take minutes and catch most fakes.
Match it to a known-good copy. Pull up reference photos from a trusted source like the Video Game Sentinel database or a well-moderated subreddit, and line up your cart side by side. Fonts, label placement, copyright text, and even screw types should match the real thing. If something feels "almost right," that's your cue to dig deeper.
Power it on if you can. A genuine game boots straight into its title screen in the correct region. Watch for red flags: a multicart menu listing dozens of games, garbled graphics, glitchy audio, or a NES game running too fast (a PAL board in an NTSC region). Repros often can't hide once the TV's on.
Ask the seller for real photos. A quick, polite message—"Could you send clear shots of the front label, the back, and the board inside?"—weeds out a lot of trouble. Honest sellers happily oblige. Vague answers or stock images are a warning sign.
Lean on reputable sources. Sellers with solid feedback, clear return policies, and graded or factory-sealed listings (WATA, VGA) cost a little more but save headaches. For commons, expect roughly $5–$20—paying a small premium for peace of mind is worth it.
And when something still feels off, walk away. There's no shame in buying a clearly labeled repro just to play—just never pay original prices for one.
See also
- Beginner's guide to starting a retro game collection on a budget
- How to clean and restore old game cartridges
- The most valuable retro games worth collecting
- Vinyl, cassettes, and retro tech buying guides
Related articles

Quick Reference: Retro Console Release Years and Lifespans
When did the major retro consoles launch and end? A scannable timeline of release years, lifespans, and console eras for collectors.
Jun 27, 2026 · 5 min read
The Atari 2600 at Home: A Beginner's Restoration Primer
Found a dusty Atari 2600? Learn gentle, beginner-friendly cleaning and basic fixes to revive your first vintage console—no soldering or big budget required.
Jun 27, 2026 · 12 min read
The Quietly Brilliant Tech of the Sony Trinitron, Explained
Why do retro gamers prize CRT TVs like the Sony Trinitron? Here's the clever tech inside, why it beats flat screens for retro play, and what to look for.
Jun 27, 2026 · 10 min read