How to Clean Vinyl Records the Right Way
What's the safe way to clean my vinyl records?
On this page
Why Cleaning Vinyl the Right Way Matters
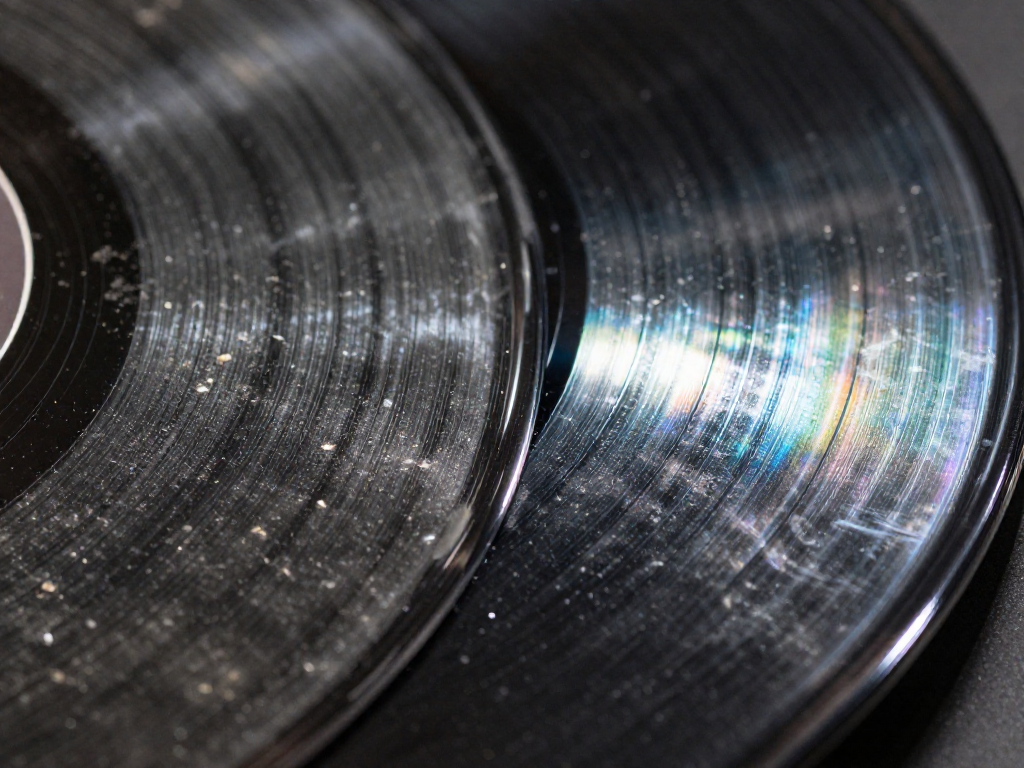
You know that warm crackle that takes you right back to your bedroom floor in 1987? Here's the not-so-fun truth: a lot of those pops, clicks, and that constant background "shhh" aren't charming character — they're dust and grime sitting in the grooves. The cleaner your record, the closer you get to the sound the artist actually intended.
It's not just about audio, either. When debris settles into those tiny grooves, your stylus grinds it deeper with every spin. That causes permanent wear you can't undo — and a worn record sounds worse and loses value. Clean copies are the ones collectors actually want, so good habits protect both your ears and your investment.
The best news? You don't need a $500 machine to do this right. As you'll see, careful technique matters far more than expensive gear. A few simple steps, done gently, beat any pricey gadget used carelessly.
What You Need (and What to Avoid)
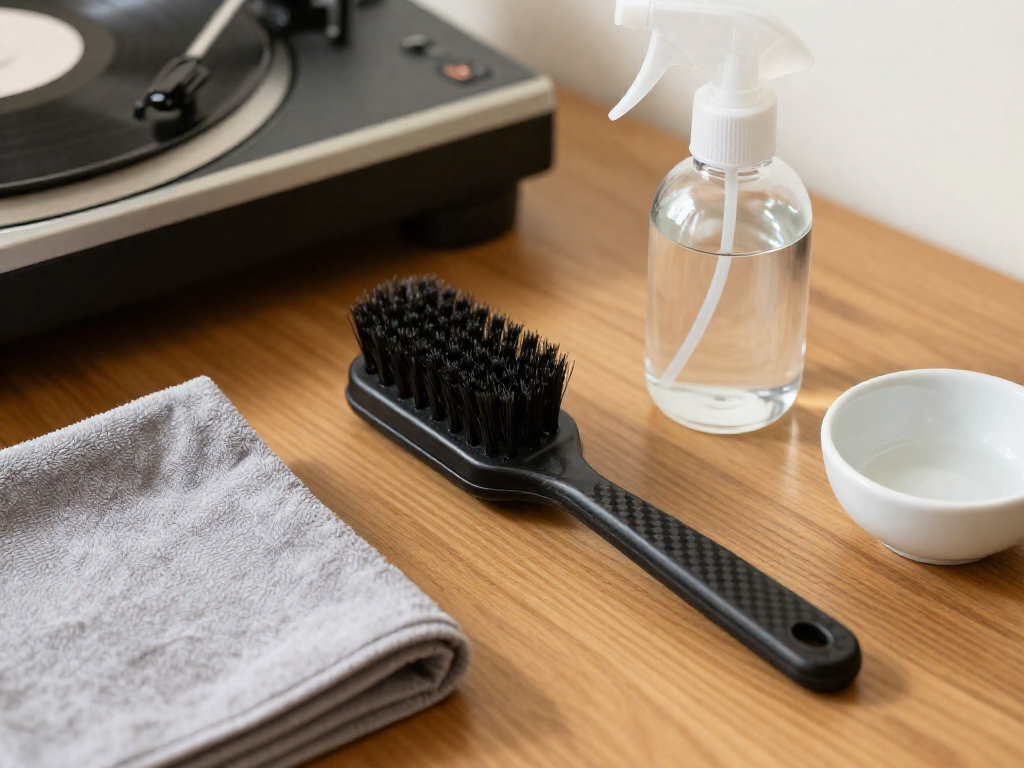
Good news: you don't need a fancy setup to clean records safely. A few cheap, gentle supplies will get you most of the way there, and the real skill is knowing what not to reach for.
The safe basics (start here)
- Carbon fiber brush — your everyday dust grabber. Use it before each play to lift surface fuzz. Runs about $10–$20.
- Microfiber cloths — soft, lint-free, and won't scratch. A multipack costs a few bucks. Keep separate cloths for cleaning vs. drying.
- Distilled water — this is non-negotiable for any wet cleaning. A gallon is around $1–$2 at the grocery store.
A simple DIY cleaning solution
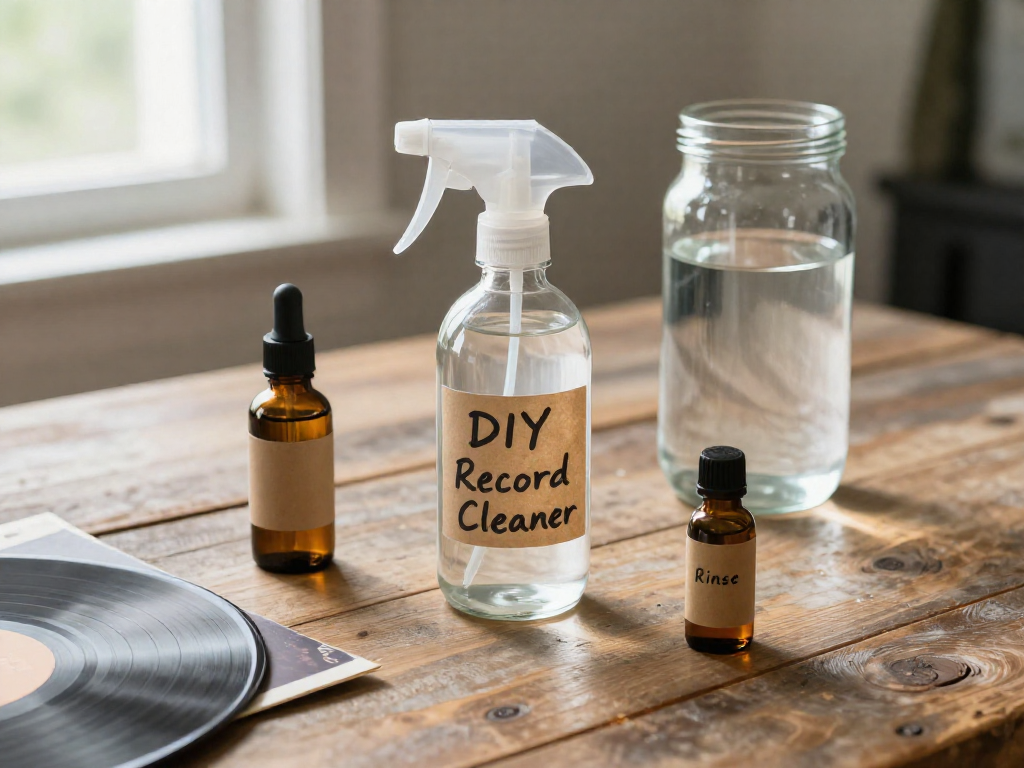
Mix distilled water with a tiny splash of isopropyl alcohol (roughly a 4:1 water-to-alcohol ratio, using 90%+ alcohol). It cuts grime and dries fast. One big caution: never use alcohol on shellac 78s. Those older brittle records pre-date vinyl, and alcohol can dull or destroy the surface. For 78s, stick to plain distilled water and a soft cloth.
Optional gear (only if you catch the bug)
- Pre-made record cleaning kits with fluid and applicators ($15–$30)
- Spin-clean style bath systems that rinse both sides at once ($60–$80)
- Vacuum cleaning machines for serious collections ($150 and up)
None of these are required to do a great job — they just save time once your stack grows.
What to avoid
- Tap water — minerals leave residue in the grooves.
- Paper towels — they're abrasive and shed lint.
- Household cleaners, glass spray, or dish soap — the "just use Dawn" myth leaves film and can strip the surface.
- Rubbing across the grooves — always wipe gently with the grooves, in a circular motion.
Stick to the basics and you'll clean confidently without risking your favorites.
Everyday Dry Cleaning: The Carbon Fiber Brush Routine
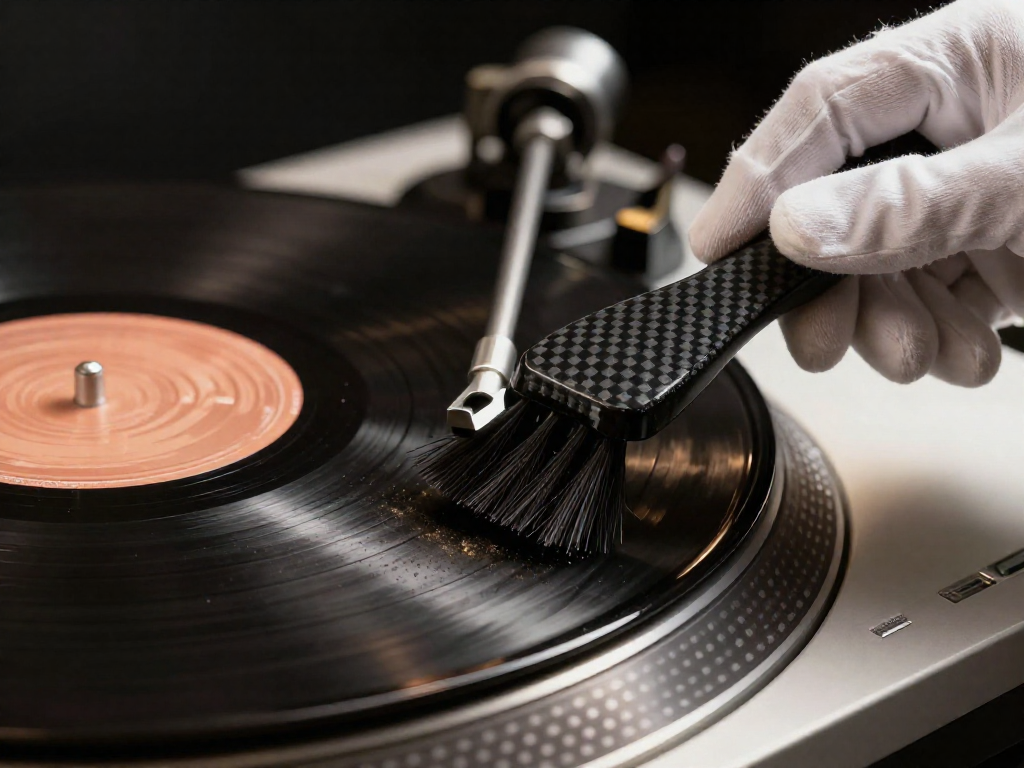
If there's one habit that'll save your records over the long haul, it's this one — and it takes about ten seconds. A carbon fiber brush is the cheapest, easiest tool in your kit (you'll find solid ones for $10–$20), and it's the thing you reach for before and after every single play. Think of it like wiping your feet before you walk in the door: a little routine that keeps the bigger mess from ever happening.
Here's the move. Set the record on your platter and let it spin at 33⅓. Hold the brush so the bristles just barely kiss the surface — light pressure, no pushing. Let the platter do the work for a couple of rotations, then slowly drag the brush inward toward the center so it lifts the collected dust up and off the record. Wipe the bristles clean and you're done.
Two reasons the technique matters. First, you're always brushing with the groove's direction, not across it, so you're never grinding grit sideways into the walls of the groove where the needle rides. Second, those carbon fibers are mildly conductive, which helps draw off the static charge that makes dust cling in the first place. Less static means less surface crackle and a quieter, cleaner listen.
Deep Cleaning with the DIY Wet Method
When a dry brush just isn't cutting it—say you scored a dusty thrift-store gem for a couple bucks and it crackles like a campfire—it's time for a proper wet clean. The good news? You don't need a $500 machine. A safe DIY solution costs almost nothing and protects those grooves better than the sleeve-and-spit method we all secretly tried as kids.
1. Mix a gentle solution. In a clean spray bottle, combine about two cups of distilled water (not tap—minerals leave deposits) with a single drop of isopropyl alcohol. That's it. Skip the dish soap and household cleaners; they leave residue that gunks up the grooves and can dull the vinyl over time.
2. Apply with the grain. Lightly mist the record's surface, then wipe gently in the direction of the grooves—following the circular path, never scrubbing across them. Going across can drag grit sideways and scratch. Use a soft, lint-free applicator or a clean microfiber pad and let a light touch do the work.
3. Rinse off the residue. Give the surface a quick pass with plain distilled water to lift away any leftover solution. This step matters more than people think—dried residue is the sneaky culprit behind that "I cleaned it but it still pops" frustration.
4. Dry it right. Pat gently with a fresh microfiber cloth, or stand the record on a dish rack to air-dry. Never use paper towels (they shed fibers and can micro-scratch).
5. Keep the label dry. Water on the paper label warps it and can fade decades-old artwork. Wipe and rinse only the playable surface, steering clear of the center.
Take your time, work one side at a time, and you'll hear the difference on the very next spin.
Gear-Based Options: Spin-Clean and Vacuum Machines
If you've got more than a milk crate of records, gear can save your back and your weekends. Here's how the options stack up so you only buy what you actually need.
- Spin-clean style baths ($25–$80): A simple manual basin with brushes inside. You add fluid, spin the record by hand, and let it air-dry. Great for batch cleaning a stack of flea-market finds without breaking the bank.
- Vacuum record cleaning machines ($150–$600): These apply fluid, then suck it back out along with loosened grime. The results are noticeably quieter playback, but the price puts them in "serious hobby" territory.
- Ultrasonic cleaners ($300 and up): High-frequency sound waves create tiny bubbles that lift dirt from deep in the grooves. It's the gold standard, but it's a splurge most casual collectors can happily skip.
Who actually needs gear? If you have a large or growing collection, or you're chasing pristine sound, a machine pays off. If you've got a modest stack and a little patience, the DIY wet method from the last section will treat your records just fine.
Common Mistakes That Ruin Records
Most damage doesn't come from years of play—it comes from a well-meaning cleanup gone wrong. Here are the habits to break before they cost you a favorite pressing:
- Reaching for tap water and paper towels. Tap water leaves behind mineral deposits that dry right into the grooves, and paper towels (yes, even the "soft" ones) drag tiny wood fibers across the surface, leaving micro-scratches you'll hear later. Stick with distilled water and a microfiber or velvet pad.
- Drowning the record in alcohol. A little isopropyl in a wet-clean mix is fine for standard vinyl, but too much dries it out. Never use it on older shellac 78s—it can cloud or eat the surface entirely.
- Wiping across the grooves. Always move with the grooves in a circular motion, following the record's natural path. Wiping across them pushes grit deeper.
- Storing records dirty or flat. Dust hardens over time, and stacking records flat warps them under their own weight. Sleeve them clean and store them upright, like books.
Avoid these four, and you've already done most of the work.
Keeping Records Clean: Storage & Handling
All that careful cleaning only pays off if you treat your records right between spins. The good news: the habits are simple and cheap.
- Swap those scratchy paper sleeves. Anti-static inner sleeves (often poly-lined) cost roughly $0.25–$0.50 each in bulk and stop the tiny fibers and static that paper sleeves shed onto your freshly cleaned vinyl.
- Handle by the edges and the label only. Your fingertips leave oils that grab dust right back into the grooves. Cradle the edges, thumb on the label, and you're golden.
- Store them upright, like books. Stacking flat warps records over time. Keep them vertical and away from radiators, sunny windowsills, and hot car trunks—heat is vinyl's worst enemy.
- Give it a quick dry brush before each play. A few seconds with your carbon fiber brush clears the surface dust so your needle isn't dragging grit through the music.
Do these four things and you'll be deep-cleaning far less often.
FAQ
Can I clean vinyl records with water and dish soap?
You can, but with care. Use distilled water (tap water leaves mineral deposits in the grooves) and just a tiny drop of unscented, dye-free dish soap. Skip anything with lotions, fragrances, or 'moisturizing' additives, since those leave residue. Apply gently with a soft applicator in the direction of the grooves, rinse thoroughly with more distilled water, and never let the paper label get wet. A homemade mix works fine for beginners and costs almost nothing, but rinsing well is the step most people skip.
Is isopropyl alcohol safe for cleaning vinyl?
In moderation and diluted, yes for standard vinyl (PVC) records. Many DIY cleaning solutions use a small percentage of isopropyl alcohol mixed with distilled water to cut grime and help it dry fast. The big caution: never use alcohol on 78 RPM shellac records, because it can strip and damage them. Always dilute it, never pour it on straight, and avoid soaking the label. If you're unsure whether a record is shellac or vinyl, skip the alcohol to be safe.
How often should I clean my records?
Less than you might think. Give every new or newly acquired record a proper deep clean once before its first play, then a quick dry brush with a carbon fiber brush right before each spin to lift loose dust. A full wet clean is only needed occasionally, when you hear extra crackle or see visible grime. Over-cleaning isn't helpful and just adds wear, so the habit to build is the quick pre-play brush, not constant deep cleaning.
Do I really need a record cleaning machine?
Not to start. Machines (vacuum or ultrasonic types) do a fantastic job and save time if you have a large collection, but they're an investment that's easy to skip early on. A carbon fiber brush, distilled water, a gentle cleaning solution, and a microfiber cloth will get most records sounding great for a small fraction of the cost. Think of a machine as an upgrade for when your collection grows, not a requirement for enjoying it now.
Can I use a microfiber cloth instead of a carbon fiber brush?
They do different jobs, so it's better to have both. A carbon fiber brush is designed to sweep loose dust and static out of the grooves right before you play, which is its main strength. A microfiber cloth is great for the wet-cleaning and drying steps, but dragging a dry cloth across a dusty record can push grit around and cause fine scratches. If you only buy one tool first, get the carbon fiber brush; add a microfiber cloth when you start wet cleaning.
How do I clean old or thrifted records that are really dirty?
Thrifted finds are half the fun, and most clean up beautifully. Start by dry brushing to remove loose dust, then do a gentle wet clean using distilled water with a drop of mild soap (or a small-percentage isopropyl solution for standard vinyl), working with the grooves and keeping the label dry. Rinse with distilled water and let it air dry on a clean rack or lint-free towel before playing. For stubborn grime, repeat rather than scrubbing hard. When you're crate-digging, check for deep scratches and warps under good light before buying, since surface dirt cleans off but gouges don't. Common titles in the $1–5 range are perfect for practicing your cleaning routine.
See also
- Best Budget Turntables for Beginners
- How to Store Your Vinyl Collection the Right Way
- Where to Find Cheap Vinyl Records (Thrifting Guide)
- Vinyl vs. Cassette: Which Sounds Better?
- How to Spot Valuable Records at Garage Sales
Related articles
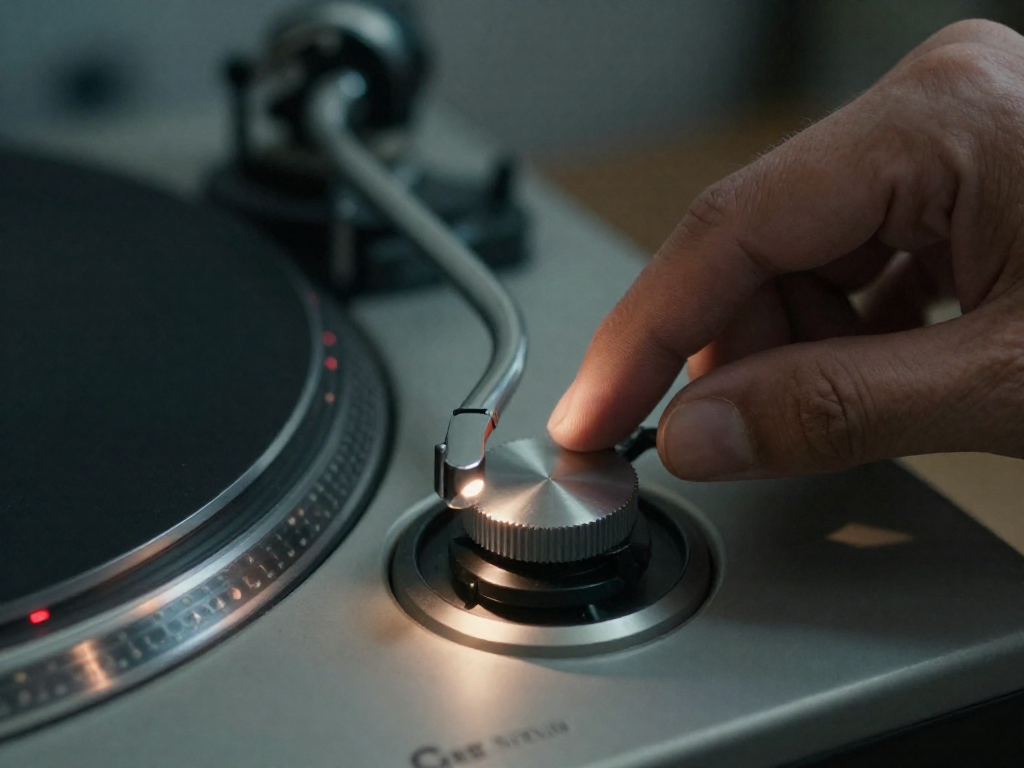
Troubleshooting a Turntable That Skips, Hums, or Drags
Why is your turntable skipping or sounding off? Diagnose speed, tracking, and grounding problems with simple, beginner-friendly fixes—no expensive gear needed.
Jun 27, 2026 · 11 min read
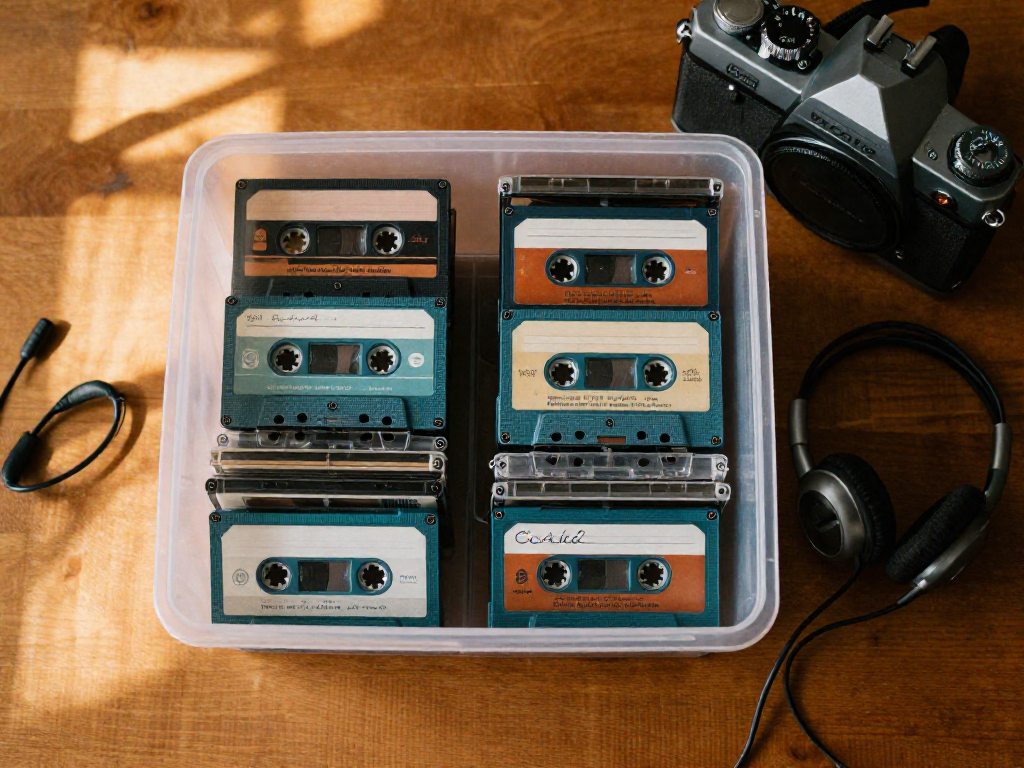
How to Store Cassette Tapes So They Last Another 30 Years
Learn how to store cassette tapes long-term. Simple tips on heat, humidity, magnetism, and case care to preserve your tape collection for decades.
Jun 27, 2026 · 9 min read
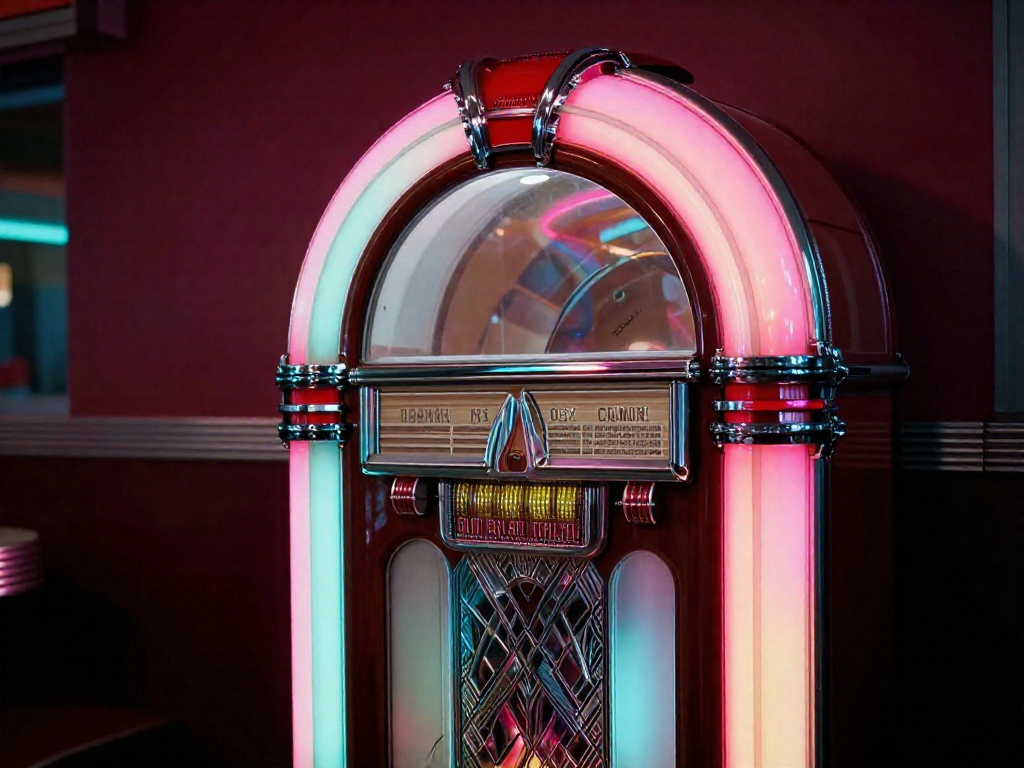
The Story Behind the 45 RPM Single and the Jukebox Era
Discover where the 45 RPM single and jukebox culture came from, why the little record changed music, and beginner tips for collecting 45s on a budget.
Jun 27, 2026 · 9 min read