Cleaning and Restoring Grimy Vintage Toys the Safe Way
How do I clean old toys without ruining them?
On this page
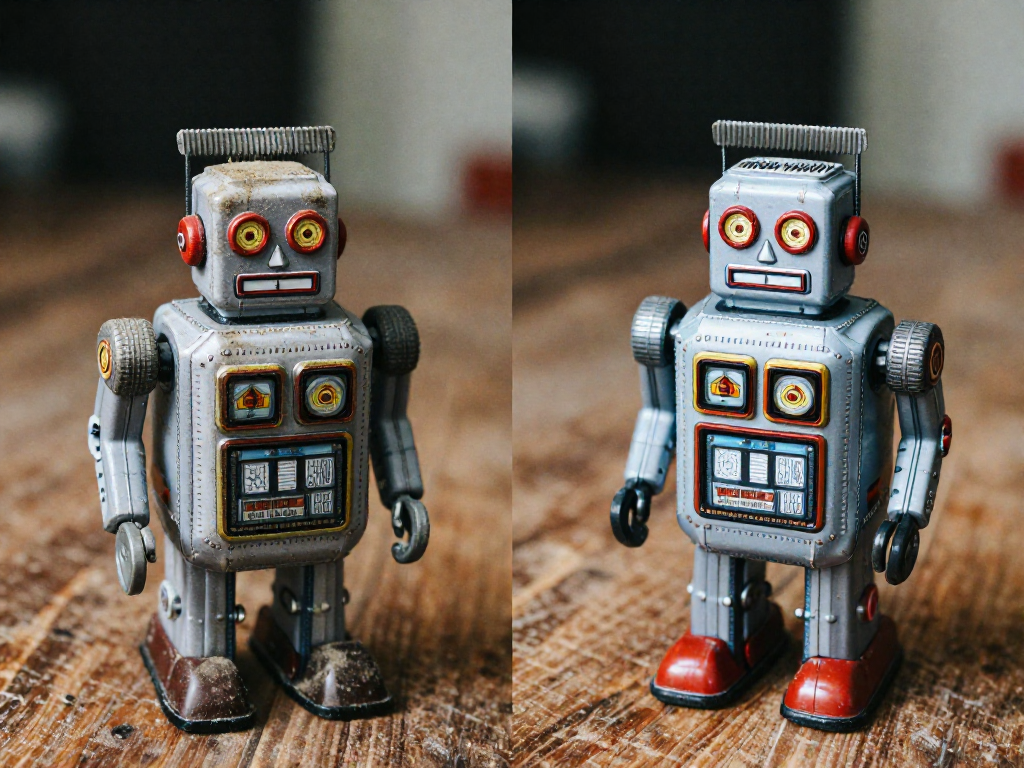
First, Stop Before You Scrub: The Golden Rules
We get it—you found that grimy He-Man figure or a dusty Polly Pocket at a yard sale, and your instinct is to blast it clean right now. Resist that urge for five minutes. The fastest way to ruin a vintage toy is to clean it too aggressively, and once paint, decals, or factory stickers are gone, they're gone for good.
Before any rag touches plastic, burn these golden rules into your brain:
- Spot-test everything first. Dab any cleaner on a hidden area—the underside of a foot, the inside of an arm—and wait a minute. If color lifts or the surface goes cloudy, stop.
- Start gentle, escalate slowly. Begin with warm water and a drop of mild dish soap. Only reach for stronger methods if that genuinely isn't enough. Most "dirt" is just decades of dust and skin oil.
- Keep liquids away from the wrong spots. Never soak battery compartments, electronics, or paper labels. Water trapped inside leads to corrosion and warped cardboard.
- Skip the harsh stuff. Acetone, bleach, and rubbing alcohol can melt plastic and strip painted or decaled surfaces in seconds. They have almost no place in toy cleaning.
- When in doubt, leave the wear. A little honest aging tells the toy's story—and over-restoring can actually lower what a collector will pay. You can always clean more later; you can't un-clean.
Treat the toy like it's not yours to "fix," only to care for. That mindset alone prevents most disasters.
Gather Your Safe Cleaning Kit
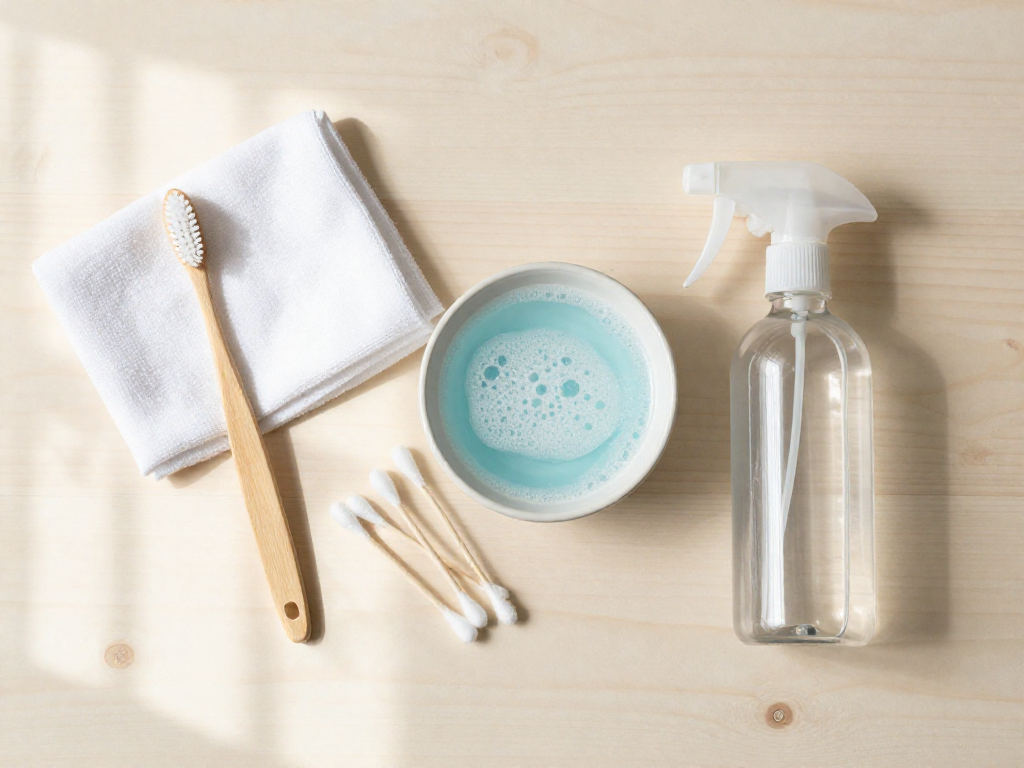
Here's the good news: you don't need a single fancy product to bring a grimy figure back to life. Most of what you need is probably already under your kitchen sink. Raid the cabinet for these basics before you start:
- Mild dish soap and warm (not hot) water — your gentle, do-everything cleaner. Hot water can warp soft plastic or loosen old paint, so keep it lukewarm.
- Soft toothbrushes, cotton swabs, and microfiber cloths — perfect for sweeping dust out of sculpted details, accessory hatches, and tiny crevices.
- A magic eraser — great for scuffs, but use it lightly and only on sturdy surfaces. It's mildly abrasive and can dull paint or printed graphics if you scrub hard.
- Distilled water for rinsing — tap water leaves mineral spots; distilled keeps things streak-free.
- Optional: Retr0bright or hydrogen peroxide — only for reversing that yellowed plastic look. We'll cover this carefully later, so save it for the right job.
Total cost? Just a few dollars. No collector's budget required.
Cleaning Hard Plastic Toys (Action Figures, Cars, Playsets)
Hard plastic is the friendliest material to start with—those He-Man figures, Hot Wheels, and Fisher-Price playsets can take a gentle cleaning beautifully. Just go slow and let each step do its job.
Start dry. Before any water touches the toy, brush off loose dirt with a dry, soft-bristled brush (an old toothbrush is perfect). Knocking away surface dust first means you won't grind grit into the plastic later.
Wash with mild soapy water. Mix a few drops of dish soap into lukewarm water—never hot, which can warp plastic or loosen vintage paint. Dip your soft brush and work gently along the surface, paying extra attention to seams and panel lines where decades of grime hide.
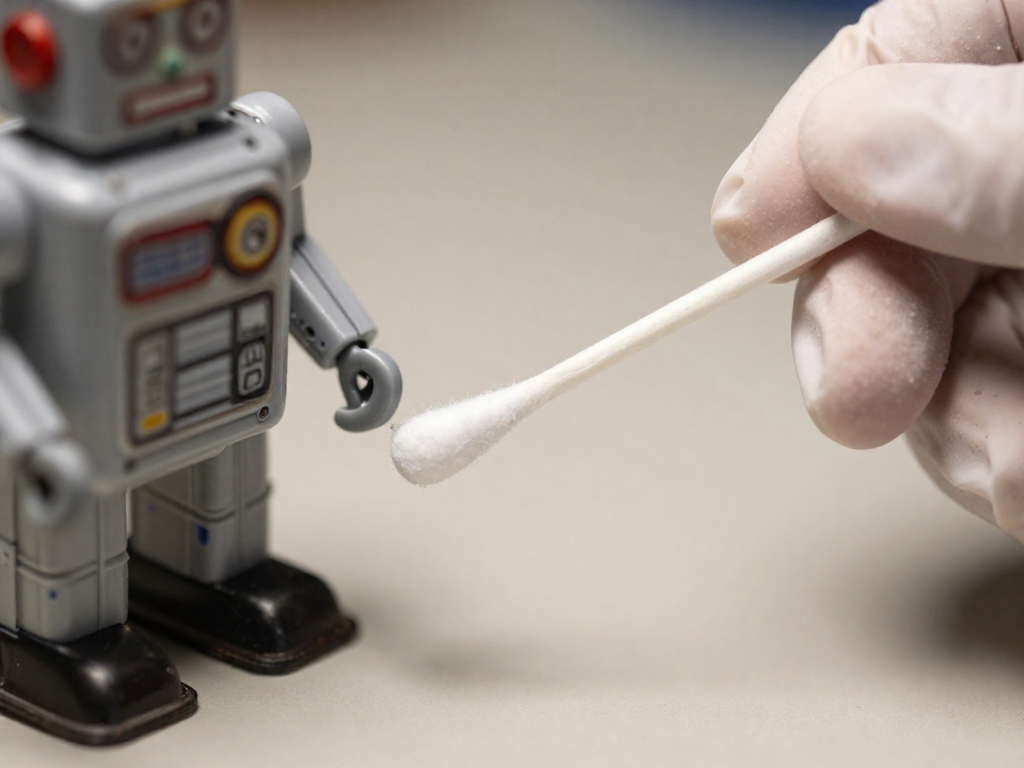
Get into the crevices. For tight spots—an action figure's joints, a car's grille, the corners of a playset—a damp cotton swab is your best friend. Roll it slowly to lift dirt out rather than pushing it deeper.
Use a magic eraser sparingly. These melamine sponges are great on stubborn scuffs and marker, but they're mildly abrasive and can dull a glossy finish or fade paint. Always test on a hidden spot first, use a light touch, and stop the moment the scuff lifts.
Dry it completely. Pat with a microfiber cloth, then let the piece air-dry fully—trapped moisture in joints can cause cloudiness or, on toys with metal parts, rust. Patience here protects your find.
Handling Soft Vinyl and Rubber Pieces
Soft vinyl figures and the rubbery bits on older toys need a gentler touch than hard plastic. That tacky, sticky surface you feel on an old Stretch Armstrong or a vinyl Kenner figure isn't dirt you missed — it's the plasticizers (the chemicals that keep vinyl soft) slowly migrating to the surface as the toy ages. Scrubbing harder won't fix it.
Here's the safe routine:
- Start mild. Use a few drops of dish soap in lukewarm water and a soft cloth or your fingers. Wipe gently, rinse, and pat dry. Skip acetone, alcohol, and Goo Gone — solvents can melt or dull soft vinyl fast.
- Tame leftover stickiness. If the surface still feels tacky after drying, dust on a little cornstarch or talcum powder, let it sit a few minutes, then brush it off with a dry soft brush. Repeat as needed; it absorbs the surface oils.
- Treat rubber kindly. Rubber bands, tires, and flexible joints get brittle with age. Clean them with the same soapy cloth, never harsh chemicals, and don't over-flex stiff joints — they crack.
- Reshape warps carefully. For a bent vinyl arm or antenna, dip it in warm (not boiling) water for 20–30 seconds, gently bend it back, then hold it under cool water to set the shape.
Go slow, test on a hidden spot first, and stop the moment something looks off.
Saving Stickers, Decals, and Paper Labels
Here's where a lot of well-meaning cleanups go sideways. That foil sticker on your Transformers chest plate or the paper label on a tin robot is the first thing to peel, bubble, and curl the second it meets water. Once an edge lifts, it rarely lays back down—and original stickers are often a big chunk of a toy's value to collectors.
So treat them like the fragile relics they are:
- Stay dry, or barely damp. Around any sticker or decal, skip soaking entirely. A microfiber cloth lightly misted with water (wrung out so it's almost dry) is plenty.
- Work the edges with a swab. Lift grime from sticker borders using a slightly damp cotton swab, rolling gently rather than scrubbing. Dry immediately with a fresh swab.
- Know when to walk away. A faded, yellowed, or worn sticker is often worth more as-is than a half-cleaned one. If it's original and intact, leave it be—collectors prize authenticity over shine.
- Shield it for the rest. Before you wash the surrounding plastic, cover decals with a small piece of painter's tape or a fingertip so stray water never reaches them.
When in doubt, less is always more.
Tackling Yellowed Plastic and Tougher Restoration
Ever notice how that once-pearly Stormtrooper or Game Boy slowly turns the color of weak tea? Blame chemistry. Many plastics from the '80s and '90s used bromine-based flame retardants, and years of UV light trigger a reaction that yellows the surface.
The famous fix is Retr0bright — a hydrogen peroxide treatment (often paired with sunlight) developed by a community of restorers in 2008. It can genuinely reverse yellowing, but it's an intermediate project, not a casual wipe-down.
Before you dive in, know the risks:
- Uneven results — patchy or streaky coloring is common.
- Brittleness — peroxide can weaken plastic over time.
- Fumes — work outdoors or in a ventilated space, and wear gloves and eye protection.
Honestly? Sometimes a little honest yellowing is part of the toy's story. If a piece is rare, fragile, or sentimental, accept the patina rather than gamble.
For musty smells, skip harsh chemicals: seal the toy in a bag with baking soda or activated charcoal for a few days, then air it out.
Common Mistakes That Ruin Vintage Toys
We've covered the safe stuff, so here's the flip side: a quick rundown of the moves that turn a beloved relic into a regret. Skim this before you grab a sponge.
- Dunking electronics or battery compartments. Water and old circuit boards don't mix. A spot of corrosion can kill that talking pull-string or light-up feature for good.
- Reaching for alcohol or acetone. These strip paint, lift decals, and dissolve the very details that make your figure recognizable. Keep them far away from anything printed.
- Scrubbing too hard with abrasives. Magic erasers and scouring pads leave micro-scratches and dull factory finishes. Let mild soap do the work, not muscle.
- Drying in direct sunlight. Sun fades colors and warps plastic. Air-dry in the shade instead.
- Over-restoring. Repainting and over-polishing can erase the honest wear collectors actually prize—and your toy's resale value with it.
When in doubt, do less.
Storing and Displaying Your Freshly Cleaned Finds
You did the hard work, so let's make it last. The biggest enemy is sunlight—UV rays are what re-yellow plastic and fade those nostalgic paint apps. Keep your finds away from windows and direct light entirely.
For storage, reach for acid-free tissue or boxes (a pack runs about $10–15) and skip sealed plastic bins that trap humidity and breed mildew. A little airflow is your friend. Give displayed pieces a quick dusting with a soft makeup or paint brush every couple of weeks.
As for showing them off: glass or acrylic display cases keep dust and grime out, but they cost more and can trap heat near light fixtures. Open shelves are cheaper and let you grab and admire freely—just expect to dust more often. Either way, you've got a setup worth showing off.
FAQ
Can I use rubbing alcohol to clean vintage toys?
Use it sparingly and test first. Isopropyl alcohol (70%) is great for spot-cleaning stubborn grime and old marker on hard plastic, but it can dull paint, lift painted-on details, and crack soft or flexible vinyl. Dab a hidden spot with a cotton swab and wait a minute before going further. For most toys, start gentler: warm water with a drop of dish soap and a soft toothbrush handles the majority of dirt. Save alcohol for the tough spots, and keep it away from stickers, decals, and any painted faces.
How do I get sticky residue off old vinyl figures?
That gummy film usually comes from old tape, price stickers, or plasticizer leaching out of the vinyl over decades. Start with the mildest fix: warm soapy water and gentle rubbing with your fingers or a microfiber cloth. If it lingers, try a little oil-based helper like coconut or mineral oil on a cloth, let it sit a minute, then wipe and wash. For really stubborn glue, a citrus-based adhesive remover (such as Goo Gone) works, but test a hidden area first and rinse well afterward, since solvents can soften vinyl. Avoid acetone entirely, it melts plastic fast.
Is it safe to put old toys in the dishwasher?
No, skip the dishwasher for anything vintage or valuable. The high heat warps and softens old plastic, the harsh detergent strips paint and finishes, and the pressure can blast off decals or force water into hollow parts where it gets trapped and breeds mildew. It's tempting for a big lot of grimy figures, but hand-washing in warm (not hot) soapy water gives you control and far better results. The dishwasher is fine only for modern, sturdy, sticker-free plastic toys you don't care about preserving.
How do I whiten yellowed plastic toys?
Yellowing happens when bromine flame retardants in old plastic react with UV light over the years. The popular fix is 'Retr0bright': coat the piece in hydrogen peroxide (salon-grade cream peroxide or a peroxide gel works well) and set it in sunlight or under a UV lamp for several hours, checking often. It genuinely reverses yellowing, but it isn't permanent and the discoloration can slowly return. A word of caution for collectors: many serious buyers consider yellowing part of an item's honest age, so whitening can affect originality. Reserve it for display pieces, not rare ones you might sell.
Will cleaning a vintage toy lower its collector value?
Gentle cleaning that removes dirt and grime almost never hurts value, and often helps it. What lowers value is over-restoration: repainting, sanding, harsh chemicals that strip original finishes, replacing parts, or anything that erases the item's authentic condition. Collectors prize originality, so the safe rule is 'conserve, don't transform.' Remove the dust and stickiness, but leave honest wear, factory paint, and original markings alone. If a toy is potentially rare or high-value, do the minimum, photograph it before you start, and research it before attempting anything beyond a soapy wipe-down.
How do I clean toys without ruining the stickers?
Work around stickers and foil labels, never over them. Keep water and any cleaner off the sticker itself, since moisture creeps under the edges and lifts or wrinkles them, while solvents dissolve the printed ink. Use a barely-damp cloth or cotton swab and clean right up to the border, then dry that area immediately. For dust on the sticker face, a dry soft brush or a gentle puff of air is safest. If a sticker is already peeling, resist the urge to re-stick it with new glue, which can stain; original adhesive and original placement are what collectors want to see.
See also
- Guide to identifying valuable vintage action figures
- Where to find cheap retro toys at thrift stores and flea markets
- How to store and display a retro collection
- Beginner's guide to grading vintage toy condition
Related articles
Why Beanie Babies Were the Bubble That Burst
What really happened with the Beanie Babies craze? The hype, the hoarding, the crash—and what collectors can learn from one of the '90s biggest manias.
Jun 27, 2026 · 10 min read
What Makes a Vintage Toy Valuable? The Real Factors
Wondering what makes a vintage toy valuable? Decode rarity, condition, demand, and packaging with beginner-friendly tips you can actually use.
Jun 27, 2026 · 8 min read
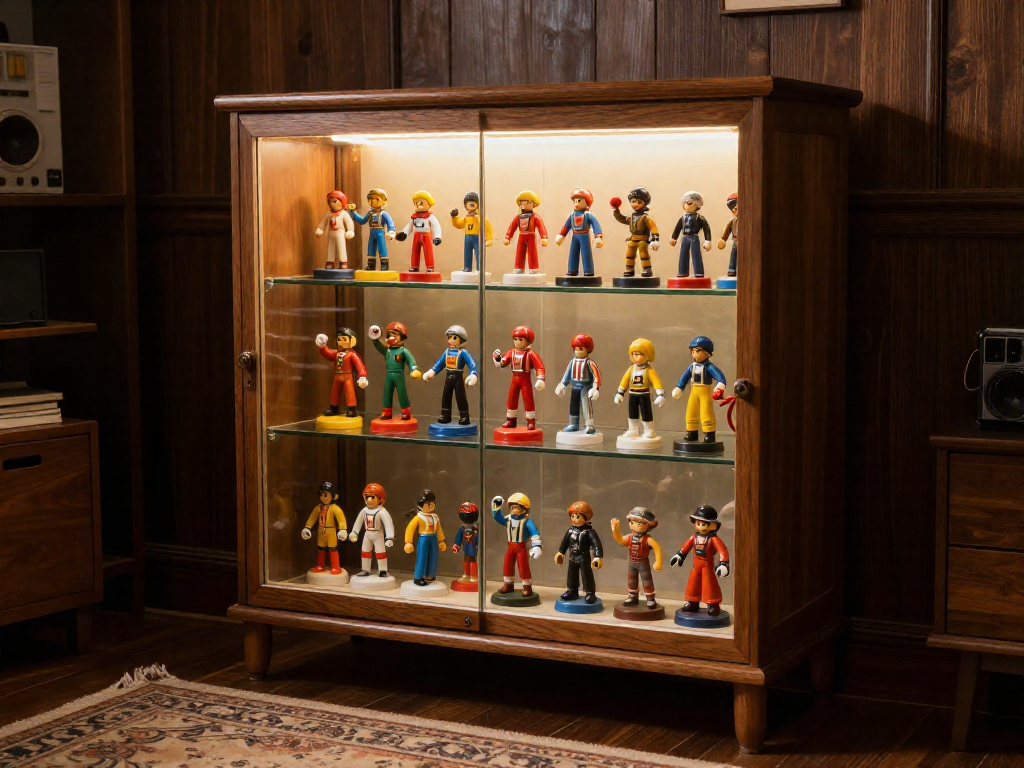
How to Display Your Toy Collection Without Damaging It
Learn how to display vintage toys safely with smart light, dust, and shelving solutions that protect their condition and long-term value.
Jun 27, 2026 · 8 min read